How to Connect the Asus ROG Ally to a TV or Gaming Monitor
The ROG Ally made a splash in 2023 as a compelling alternative to the Steam Deck, thanks to its Windows operating system, which grants access to a broader range of games. The following year, the ROG Ally X hit the market, boasting enhanced internals and improved ergonomics with superior cooling, making it an even more appealing choice for gamers on the go. While its primary allure is its portability, the ROG Ally also offers the flexibility to enjoy gaming on larger screens like TVs or gaming monitors. Both versions of the ROG Ally can be easily connected to an external display, allowing you to immerse yourself in your favorite games on a grander scale. Below, you'll find a comprehensive guide on how to connect your ROG Ally to a TV or monitor, complete with step-by-step instructions and top recommendations.
How to Connect With an Adapter
Connecting your ROG Ally to a TV or monitor can be achieved in several ways, but using an adapter is a straightforward and space-efficient method. Options range from compact dongle-style adapters and direct cables to the official ROG Gaming Charger Dock, providing flexibility to suit different preferences.
What You'll Need
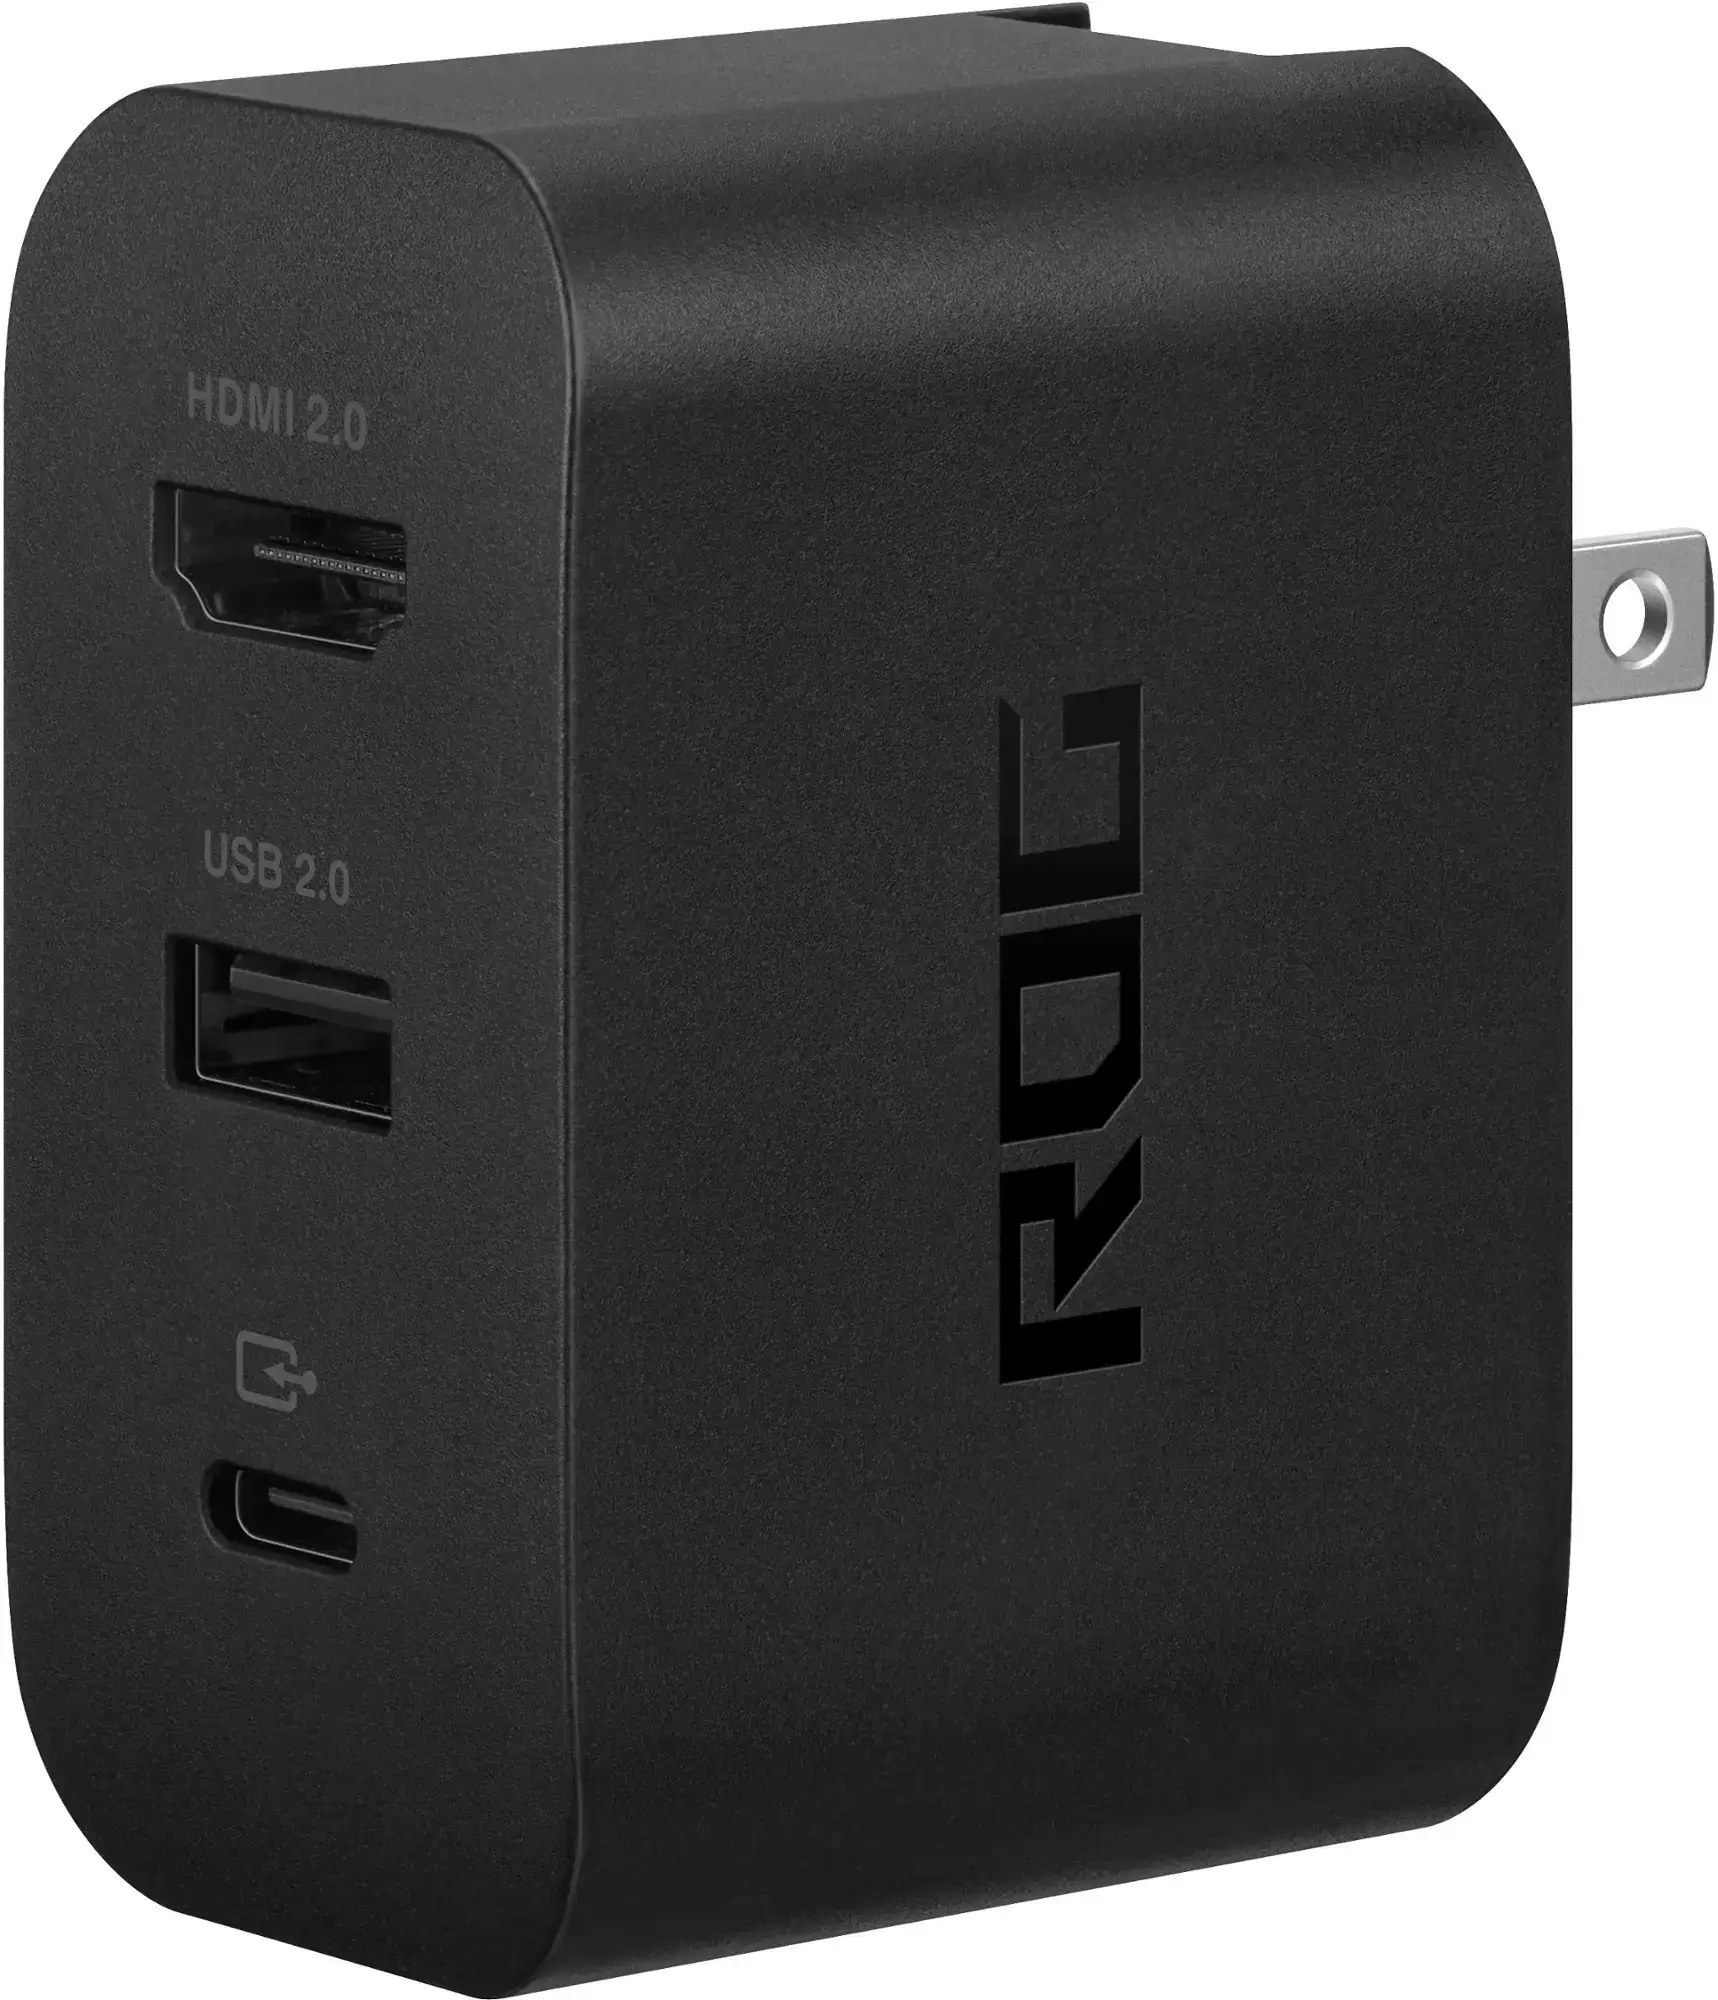
ASUS ROG 65W Charger Dock
0Supports HDMI 2.0 with USB Type-A and USB Type-C for ROG Ally.See it at Best BuyASUS has streamlined the process of connecting the ROG Ally to a TV with the official ROG Gaming Charger Dock, which also serves as a charger. All you need is a USB-C and HDMI cable to get started. The Charger Dock also includes a USB-A port, allowing you to connect peripherals like a mouse or keyboard.
Alternatively, you can use a third-party USB-C to HDMI adapter, plugging it directly into the ROG Ally's USB-C port. From there, connect an HDMI cable from the adapter to your TV or monitor. For a seamless one-cable solution, consider a USB-C to HDMI cable that connects directly from your ROG Ally to your TV or monitor, eliminating the need for an adapter.
Some USB-C to HDMI adapters come equipped with a passthrough USB-C port for charging, which requires an additional USB-C cable and your power adapter to keep the ROG Ally's battery powered during play.
How to Connect: Step-by-Step Instructions
- Insert a USB-C to HDMI adapter (or cable) into the ROG Ally's USB-C port on the top of the device. If using the ROG Gaming Charger Dock, connect one end of a USB-C cable to the ROG Ally and the other to the Charger Dock's USB-C charging port.
- Attach an HDMI cable to the adapter (or Charger Dock) and plug the other end into an available HDMI port on your TV or monitor. If using a direct USB-C to HDMI cable, simply connect the HDMI end to your TV or monitor.
- (Optional) If your adapter features a passthrough USB-C port, connect your ROG Ally's power adapter to this port for charging.
- Power on the ROG Ally; it should automatically detect and output the video signal.
- Switch your TV or monitor's input to the corresponding HDMI input to view the ROG Ally's display.
How to Connect With a Docking Station
For a more console-like setup reminiscent of the Nintendo Switch, a docking station might be your preferred choice. While the ROG Ally doesn't have an official docking station beyond the ROG Gaming Charging Dock, which functions more as an adapter, the market offers numerous third-party options. These docks allow you to place the ROG Ally in a stand, connect it to a TV or monitor, and charge simultaneously.
What You'll Need
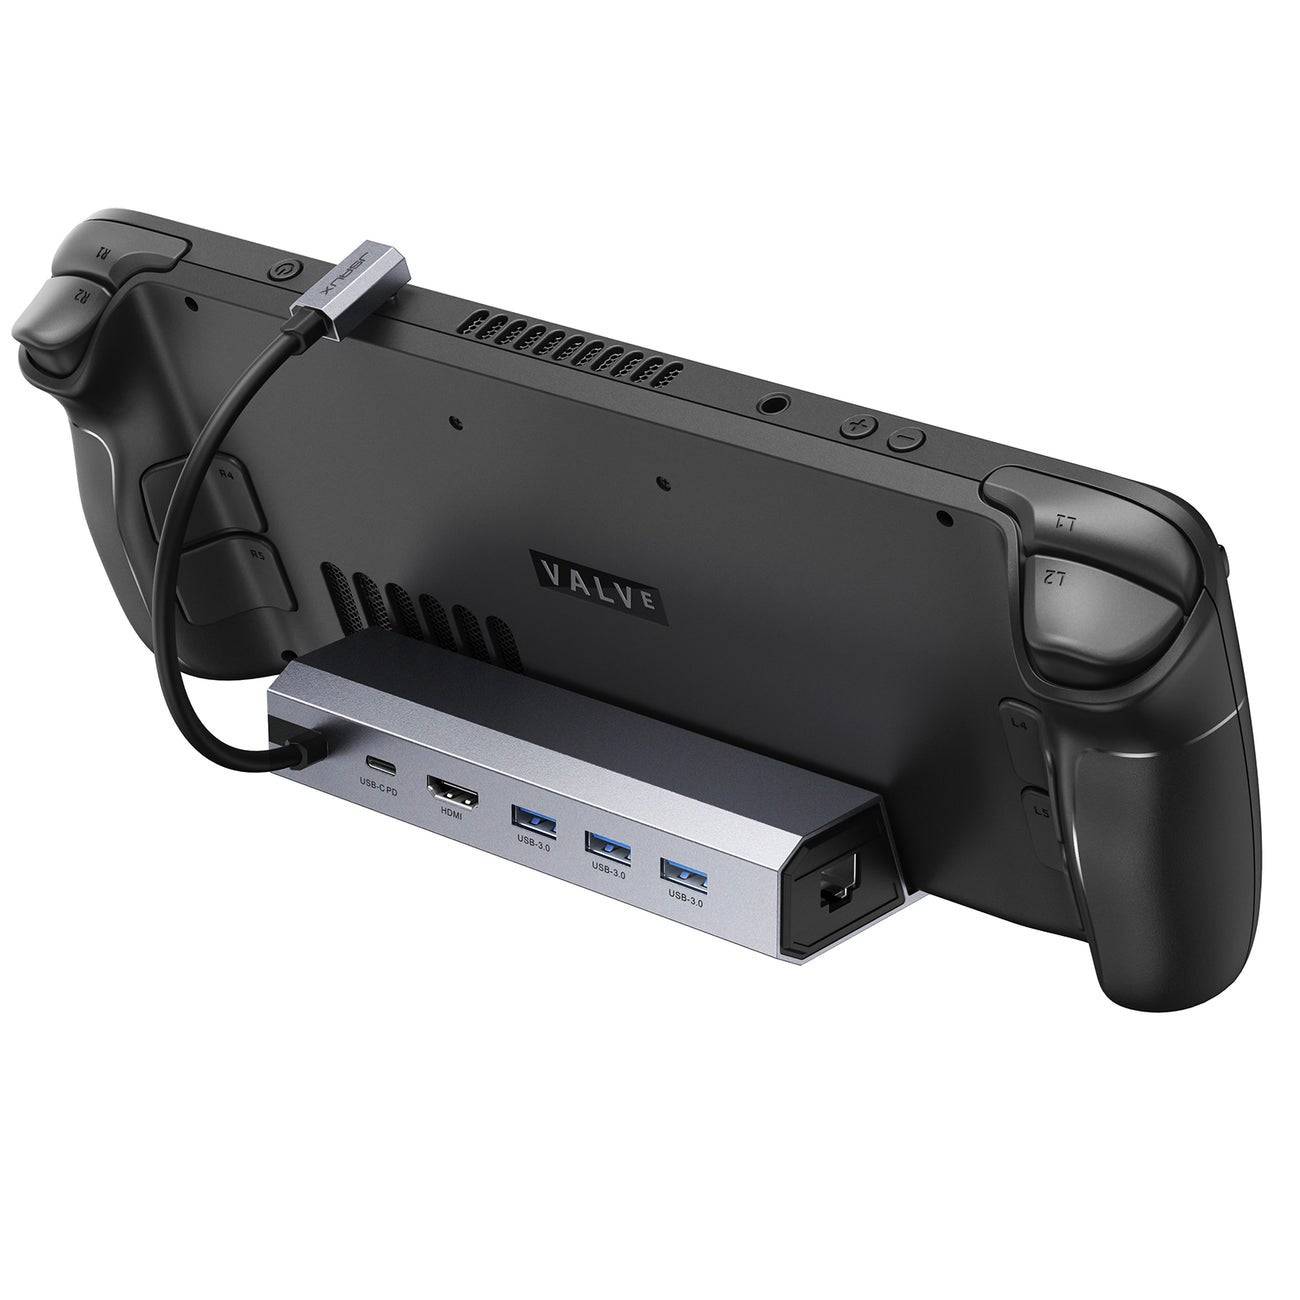
JSAUX Docking Station HB0603
2100 watts of power for fast charging and a variety of ports are included in this lightweight, compact dock that doubles as a stand.See it at AmazonBasic docks for the ROG Ally usually come with an HDMI port and a USB-C passthrough charging port. For those seeking more connectivity options, advanced docks offer additional USB ports for peripherals such as mice and keyboards, external hard drives, Ethernet ports for a stable wired connection, SD card slots for expanded storage, and even Display Ports for multiple displays. Smaller, travel-friendly dock options are perfect for connecting to larger screens on the go. Many docks designed for the Steam Deck are also compatible with the ROG Ally.
How to Connect: Step-by-Step Instructions
- Place the ROG Ally into the dock.
- Connect the USB-C power cord to the ROG Ally's USB-C port on the top.
- Attach your ROG Ally's power adapter to the dock's USB-C charging port.
- Connect an HDMI cable from the dock's HDMI port to an available HDMI port on your TV or monitor.
- Power on the ROG Ally, which should automatically detect and output the video signal.
- Switch your TV or monitor to the correct HDMI input to view the ROG Ally's display.
You'll Also Need a Controller
While it's possible to connect a mouse and keyboard to your ROG Ally's docking solution, using a wireless controller is often the most comfortable and convenient option when gaming on a larger screen. The ROG Ally supports any Bluetooth-enabled gaming controller. Here are our top recommendations for controllers, suitable for both the Steam Deck and the ROG Ally:
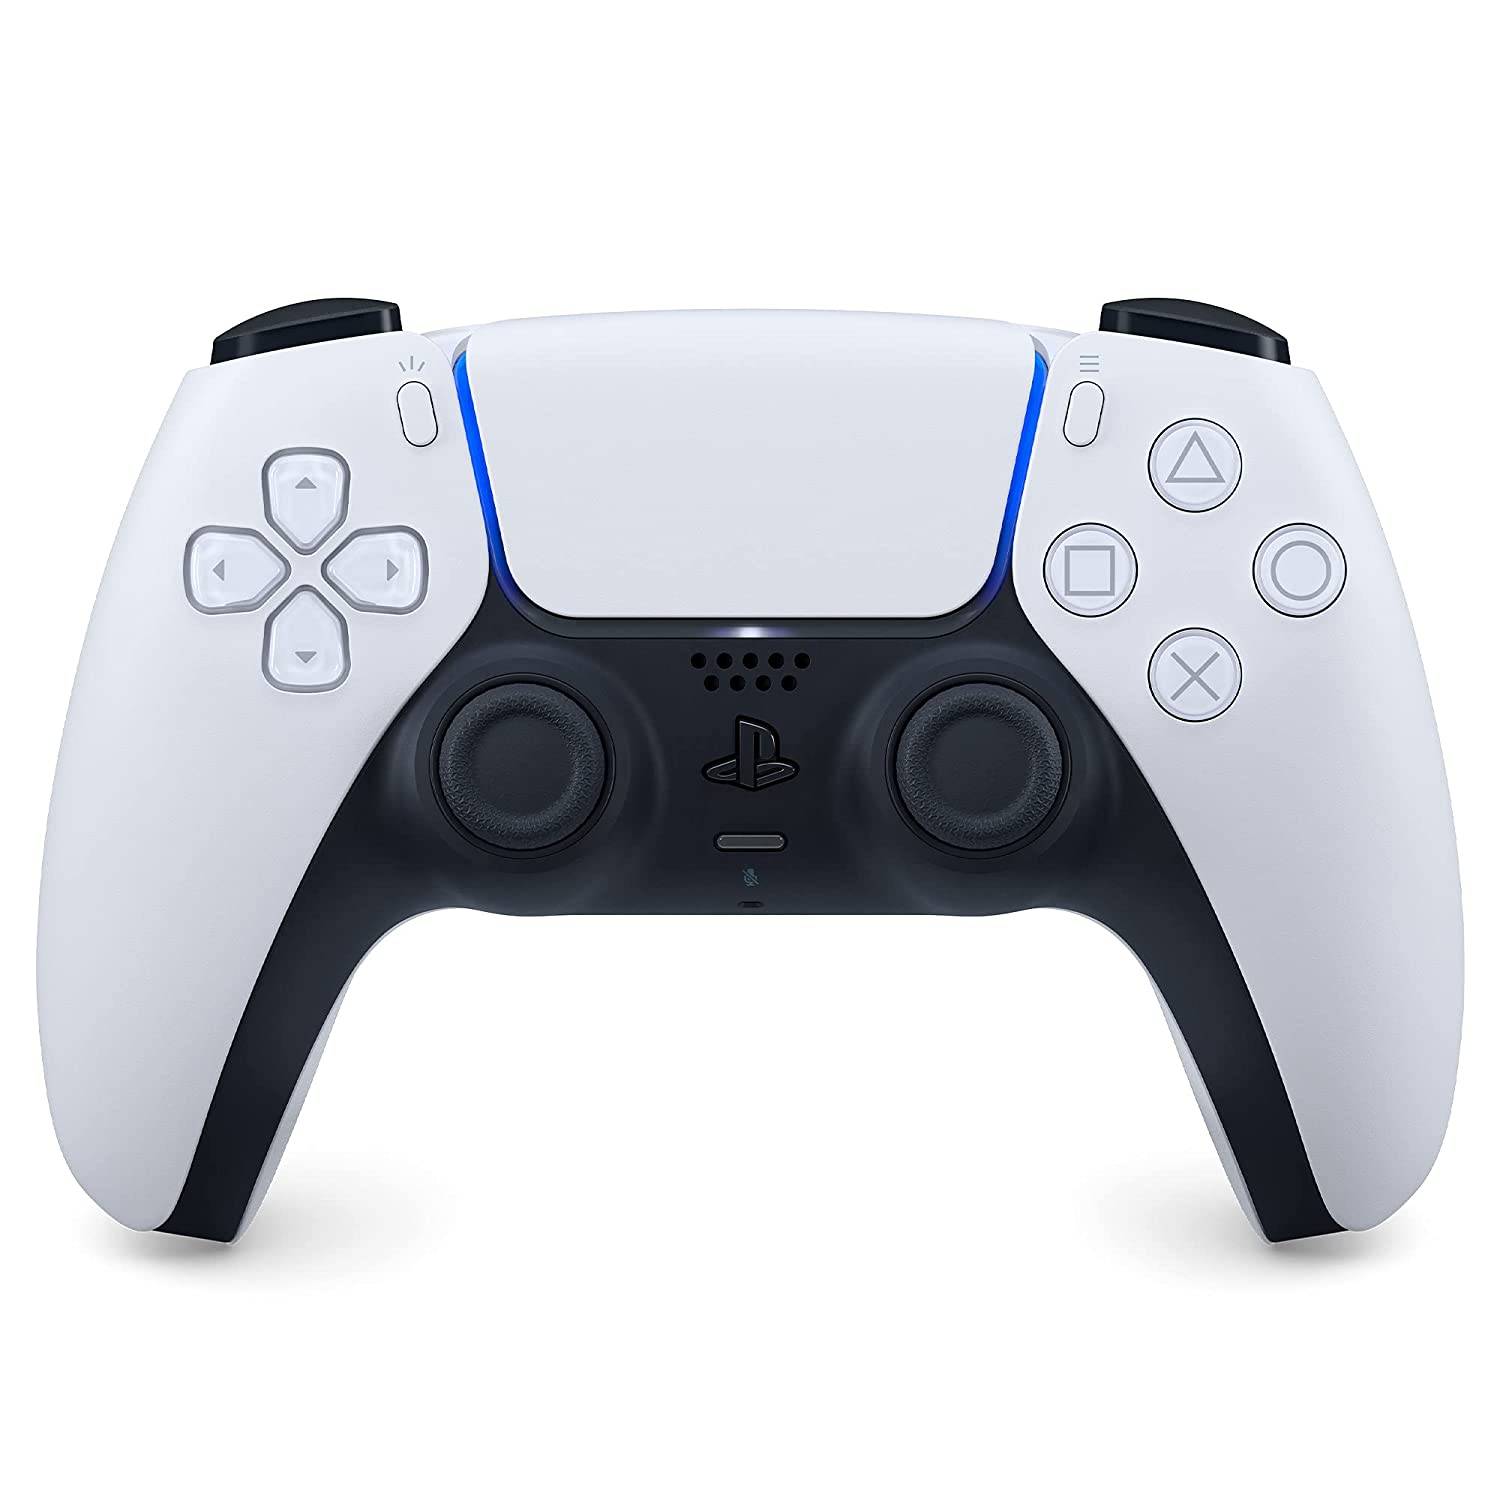
Sony DualSense
1See it at AmazonSee it at Best BuySee it at Target
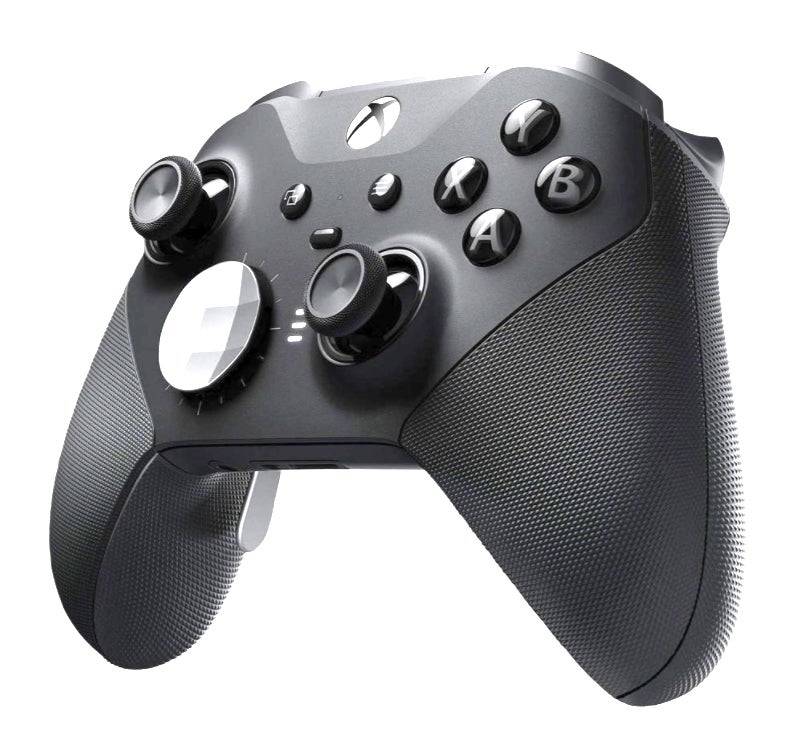
Xbox Elite Series 2 Controller
4See it at AmazonSee it at Best Buy
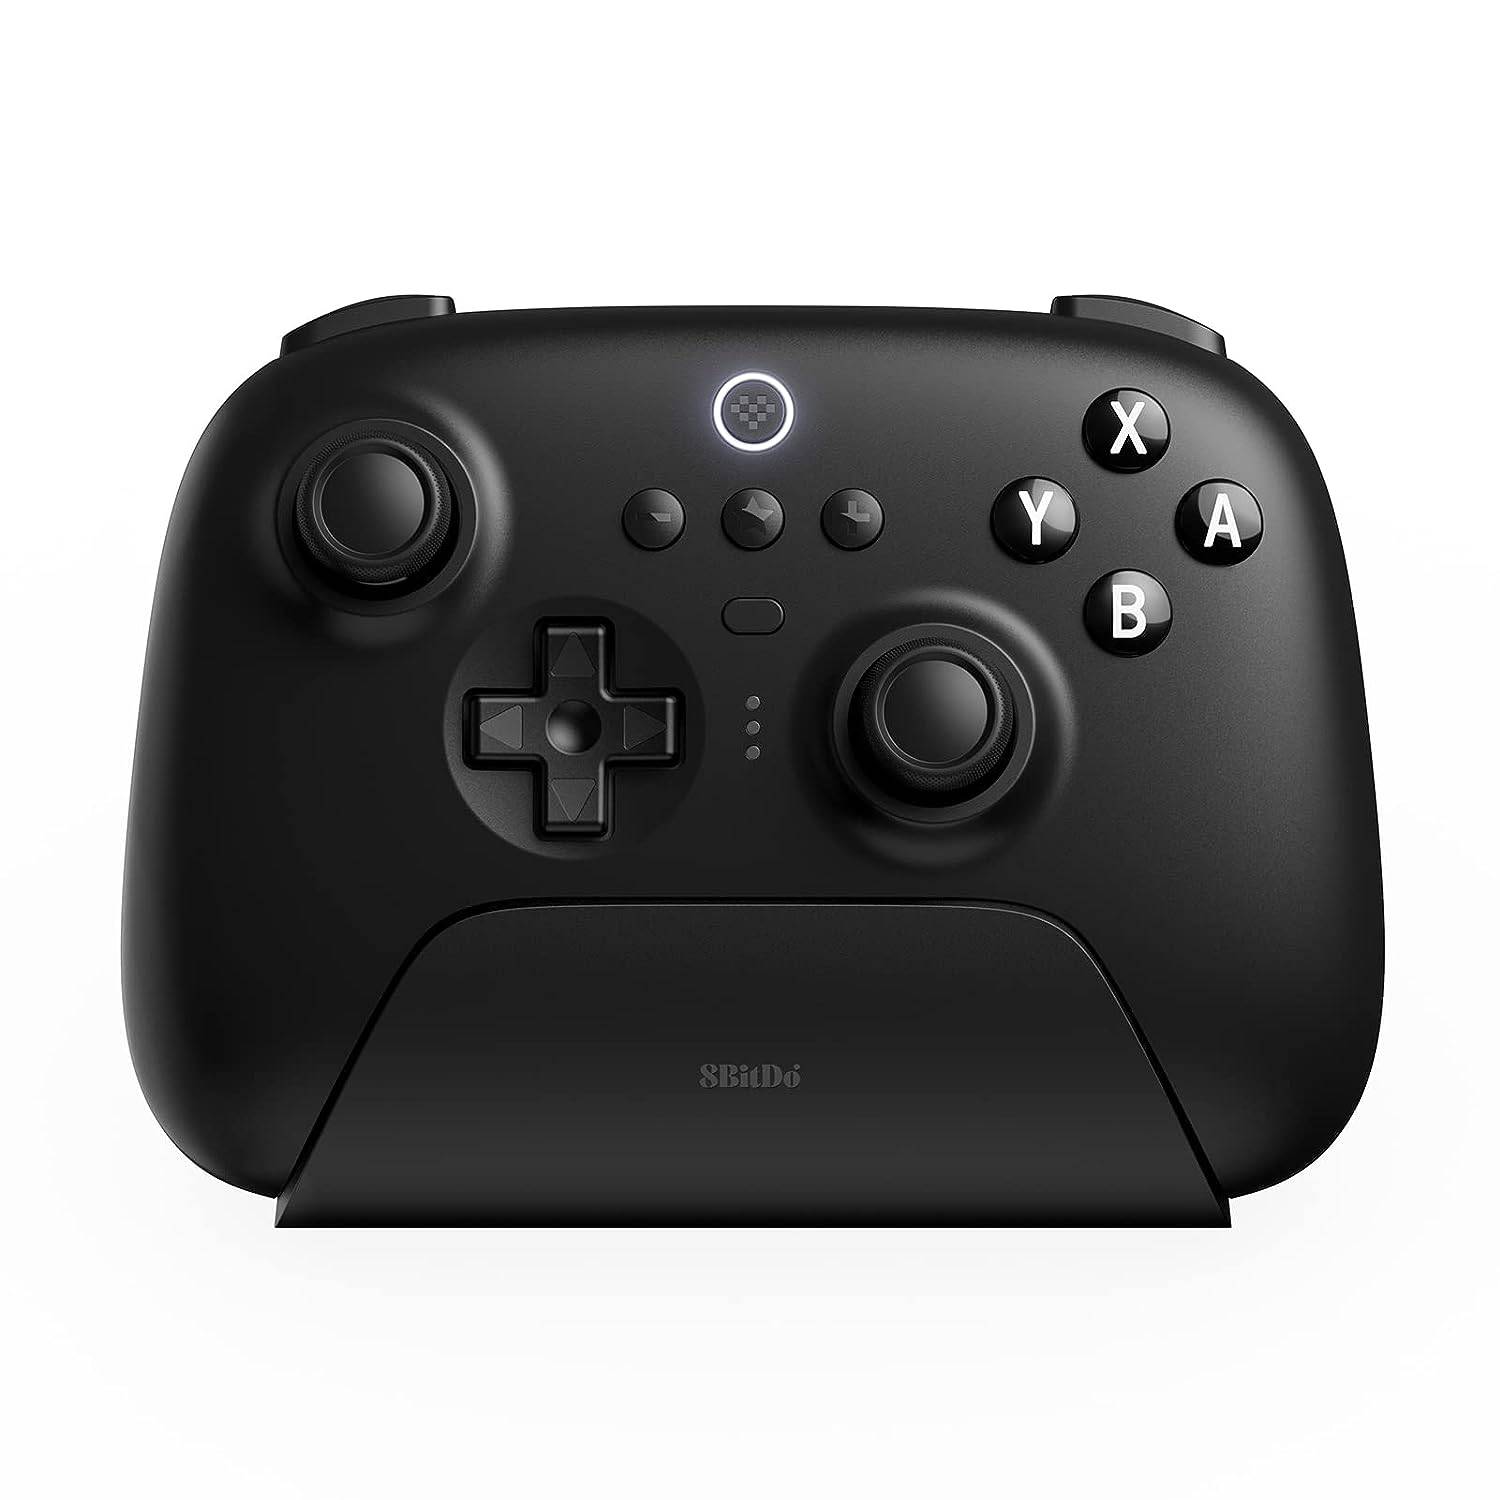
8BitDo Ultimate Controller
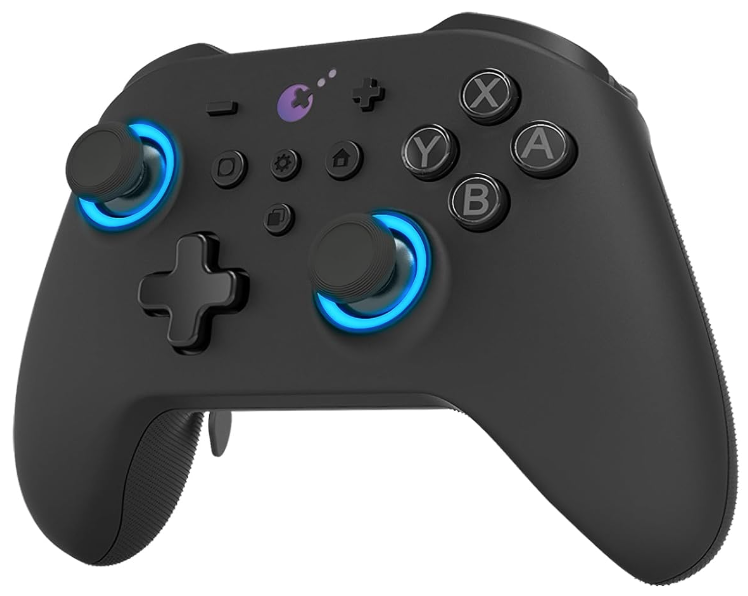
GuliKit KingKong 3 Max Controller

PowerA Wireless GameCube Style Controller
2See it at AmazonThis includes first-party options such as the PS5's DualSense, the Xbox Wireless Controller, or the Nintendo Switch Pro Controller, as well as a variety of third-party controllers. Some controllers utilize a 2.4GHz wireless connection with a USB adapter, offering lower latency and better range than standard Bluetooth controllers. If you're close to your ROG Ally or docking station, a wired USB controller can also be a simple plug-and-play solution.
-
 Dunk City Dynasty is now available globally on mobile devicesExperience intense streetball action with fast-paced gameplay ranging from 5v5 matches to quick 11-point gamesControl real NBA stars and personalize them with fashionable gearThe roots of aAuthor : Hazel Dec 31,2025
 -
 Walmart currently has the best price available for a new MacBook laptop. For just $599 with free delivery, you can get an Apple MacBook Air 13" with the M1 chip. This is a brand new, retail-packaged laptop sold directly by Walmart (not a third-partyAuthor : Elijah Dec 31,2025
-
 بازی کلمات |بازی کلمه|حدس کلمهDownload
 -
 Slot PerfectDownload
 -
 Chess Tactics in Sicilian 2Download
 -
 Bottle Shooting Knock Down 2Download
 -
 Age of TribesDownload
 -
 Cooking CenterDownload
 -
 Gangster City: Hero vs MonsterDownload
 -
 Animatronic Simulator 2Download
 -
 Pakistan League Cricket GamesDownload
 -
 BC Monster Dinosaurs That Time Forgot Slots FREEDownload


- STALKER 2: Heart of Chornobyl - All Endings (& How to Get Them)
- Steampunk RPG Eldgear Unveiled by KEMCO
- Metaphor: ReFantazio - Complete Bond Guide
- NYT Hints and Answers: Guide to January 10, 2025
- Discover the Artifacts in Stalker 2: Locations and Acquisition
- Mushroom Go! Unleashes Co-op Dungeon Adventure for Fungi Fans