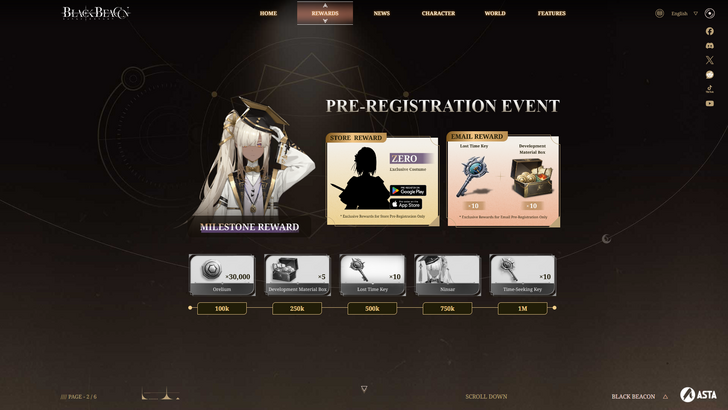
Black Beacon Pre-Register and Pre-Order
Unlock the Power of Google Chrome's Translation Features!
This guide provides a step-by-step walkthrough on efficiently translating web pages using Google Chrome, covering whole-page translation, selected text translation, and personalized settings adjustments. Master these techniques and effortlessly navigate multilingual websites.
Step 1: Accessing the Settings Menu
Locate and click the three vertical dots (or three horizontal lines) in the upper right corner of your Google Chrome browser. This opens the main menu.

Step 2: Navigating to Settings
In the dropdown menu, select "Settings." This will open the browser's settings page.
Step 3: Locating Translation Settings
At the top of the settings page, use the search bar. Enter "Translate" or "Language" to quickly find the relevant settings.
Step 4: Accessing Language Preferences
Once you've located the translation settings, click on the "Languages" or "Translation" option.
Step 5: Managing Languages
In the language settings, you'll find a list of supported languages. Use the "Add languages" option to include your desired languages or manage existing ones.
Step 6: Enabling Automatic Translation
Crucially, ensure the option to "Offer to translate pages that aren't in a language you read" is enabled. This ensures Chrome automatically prompts you to translate pages in languages other than your default.
By following these steps, you can fully leverage Google Chrome's powerful translation features for a seamless multilingual browsing experience.
-
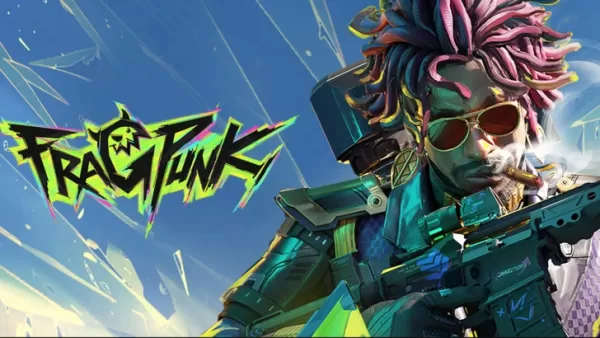 FragPunk is an action-packed FPS where the rules are meant to be broken! Dive into the latest news and developments of this exciting game!← Return to FragPunk main articleFragPunk News2025April 10⚫︎ Exciting news from Bad Guitar Studio: FragPunk is set to launch on PlayStation 5 and Xbox Series X/SAuthor : Scarlett Apr 28,2025
 -
 El estudio español de juegos Patrones & Escondites regresa con otro misterio que desafiará tu mente: Tu Casa: Una Verdad Oculta, un thriller de puzles narrativo donde desvelarás los secretos de tu propia casa siendo un adolescente.El juego se ha lanzado hoy en Android, PC a través de Steam y iOS. CoAuthor : Sarah Apr 28,2025
-
 Arcade Shuttle VoyageDownload
 -
 City Train Game 3d Train gamesDownload
 -
 Pixel Zombie FrontierDownload
 -
 Reaction Time Reflex GamesDownload
 -
 Muscle Mustang Drift & DragDownload
 -
 Lost Artifacts Chapter 3Download
 -
 Energy ManagerDownload
 -
 Xokaz Saw TrapDownload
 -
 Hunter underwater spearfishingDownload
 -
 Bitcoin BlastDownload


![[777Real]スマスロモンキーターンⅤ](https://images.0516f.com/uploads/70/17347837276766b2efc9dbb.webp)


- Hitman Devs' "Project Fantasy" Hopes to Redefine Online RPGs
- The Elder Scrolls: Castles Now Available on Mobile
- Minecraft's 'In Your World' Mod: A Chilling Update
- Resident Evil Creator Wants Cult Classic, Killer7, to Get a Sequel By Suda51
- EA Sports FC 25: Breakthrough or Letdown?
- Deadlock Characters | New Heroes, Skills, Weapons, and Story