Full Dead Sails Kraken Guide [NEW UPDATE]
If you adored Dead Rails on Sails, you're in for a treat with the latest update of Dead Sails, despite its challenging new additions. Mastering the Seven Seas and conquering the tentacled beast, the Kraken, is within your reach. Fear not, as I've crafted this comprehensive Dead Sails Kraken Guide to navigate you through the new content, accelerate your progress, and crank up the fun factor to the max.
Recommended Videos
Table of contents
- Dead Sails Kraken Boss Guide
- Dead Sails Kraken Tips And Tricks
- How to Defeat the Kraken Boss in Dead Sails Kraken
Dead Sails Kraken Boss Guide
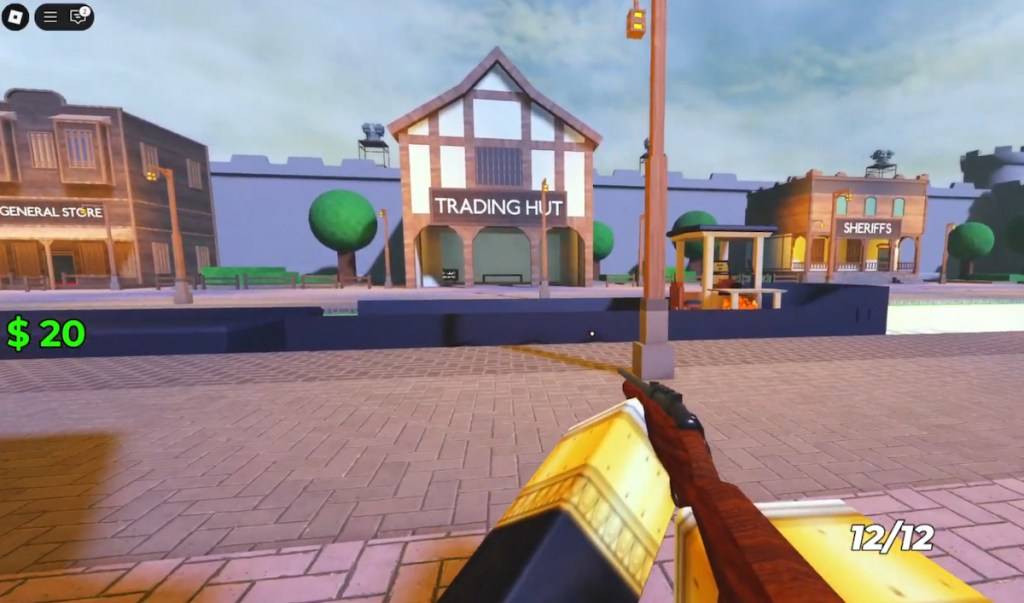
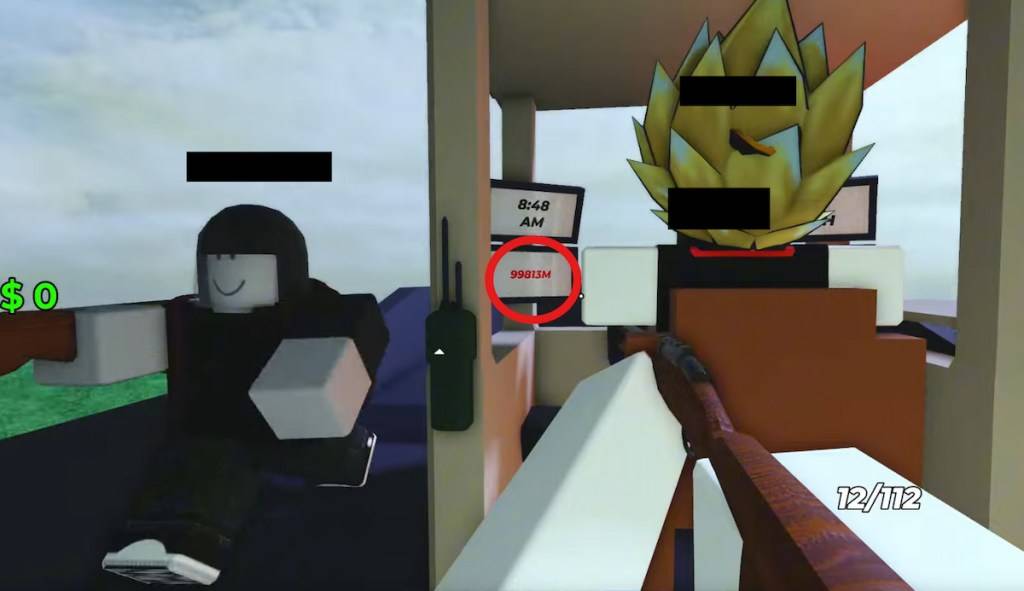
Your journey begins in the heart of town, across from the Gun Store and Hospital, and in front of the Trading Hut. Start by offloading any unnecessary loot and gearing up. In my opinion, a Rifle is your best bet here. It's a steal at just $75 and packs enough punch to keep most enemies at bay, at least temporarily. After securing your weapon, don't forget to stock up on coal to power the boat's old-school engine.
The next town is a hefty 10,000m away, so get that engine roaring and you'll be on your way. You might be tempted to stop and take on Zombies and Drowned for some loot, but I'd advise against it. The houses along the route don't hold much of value. To keep the ship moving, just add more coal and restart it. Ignore the worm on the right side; it's harmless. Wait until you reach the second safe zone to sell your loot, but keep an eye out for Big Foot and Zombie mobs on either side of the river.

After the second safe zone/town, you'll encounter numerous burning buildings teeming with mobs. Clear them out if you're with a group, but solo players might find it a waste of time due to the unpredictable spawn points. At around 12,000m, you'll find a castle-like house filled with Drowned and valuable loot like Shotgun ammo. Use it wisely.

Dead Sails Kraken Tips And Tricks
By now, you're familiar with the routine—kill, loot, repeat and hope for enemy defeat. That's the core gameplay loop. To elevate your game, focus on efficiency by using the boat as your primary inventory. Clear your bag when you return to the boat to save time and space.

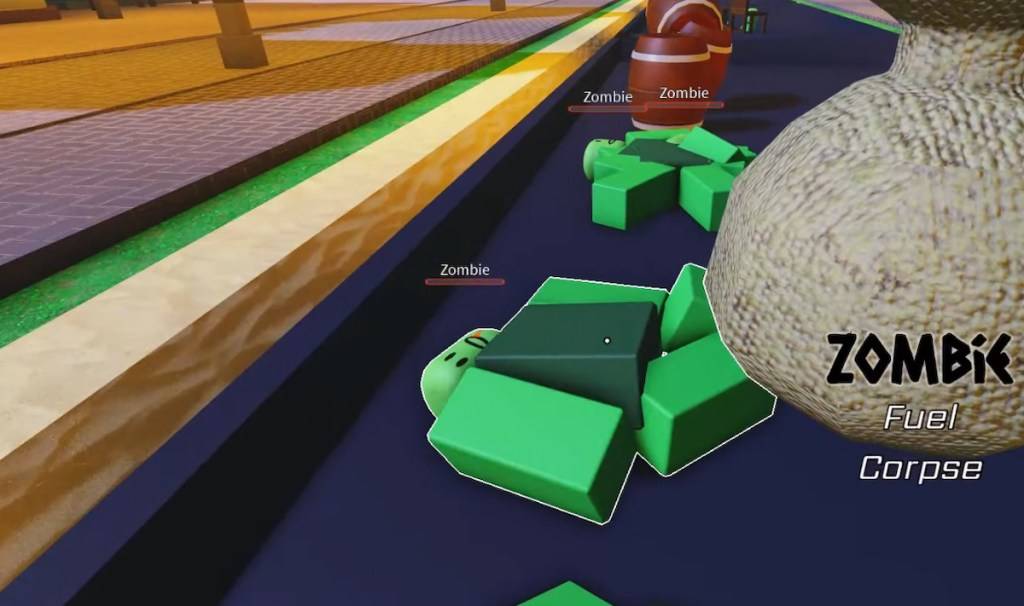
Another helpful strategy I've found while creating this guide is stacking Zombies near the incinerator. It's tempting to rush out of those backwater towns, but efficient loot stacking pays off. Running low on fuel? Just toss a few Zombies into the incinerator and you're set.
It's also wise to be cautious in Sheriff's offices. These areas often have a high concentration of mobs but also offer substantial rewards in the form of weapons and ammo. I managed to keep my shotgun well-supplied by having a friend clear the ground floor while we explored each town.
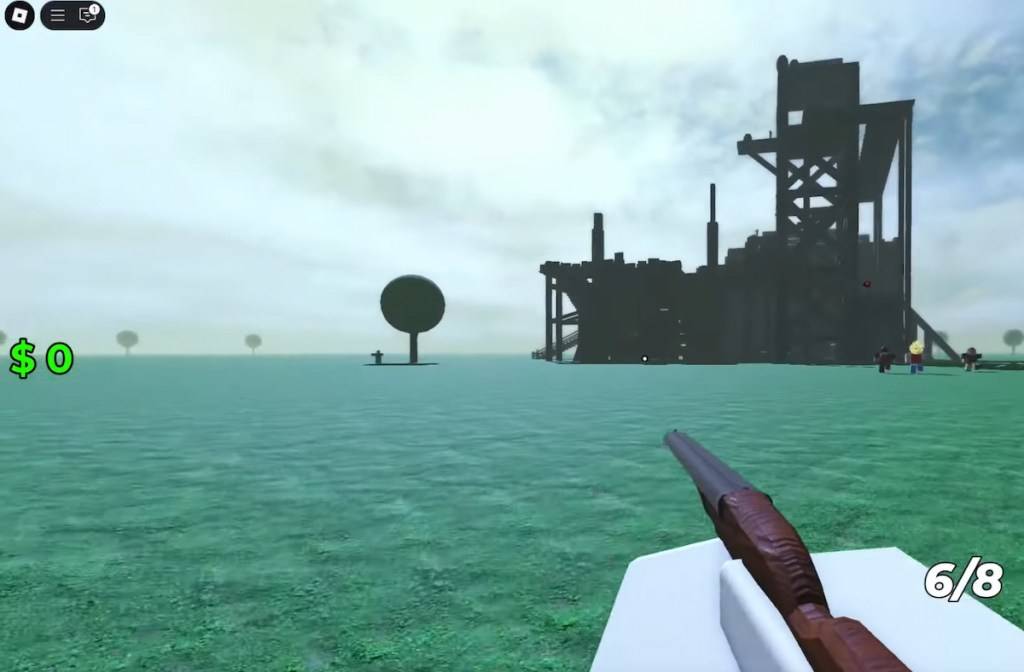
Remember to conserve your ammo, weapons, fuel, and medkits for the fortress at around 25,000m. It's still under construction, making it a prime spot for ambushes. I wouldn't recommend going in with fewer than three people, and a group of five would be ideal. Be efficient with your loot collection here.
Likewise, avoid engaging Big Feet after 30,000m. They're extremely tough and require a lot of ammo to take down safely. Don't linger too long at stops; loot isn't everything.
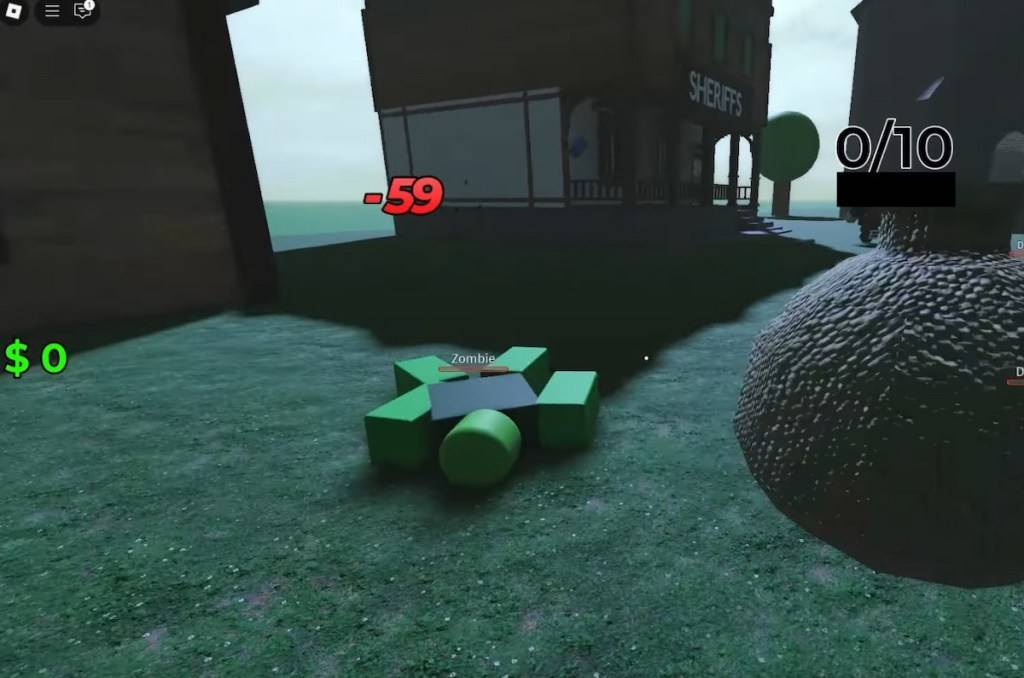
The town after 50,000m is one of my favorite farming spots. It's packed with at least two dozen Drowned and Zombies, making it an ideal place for shotgun users to farm. It's also an efficient way to gather corpses for fuel, so coordinate with your team to prepare the bodies for loading quickly.
How to Defeat the Kraken Boss in Dead Sails Kraken
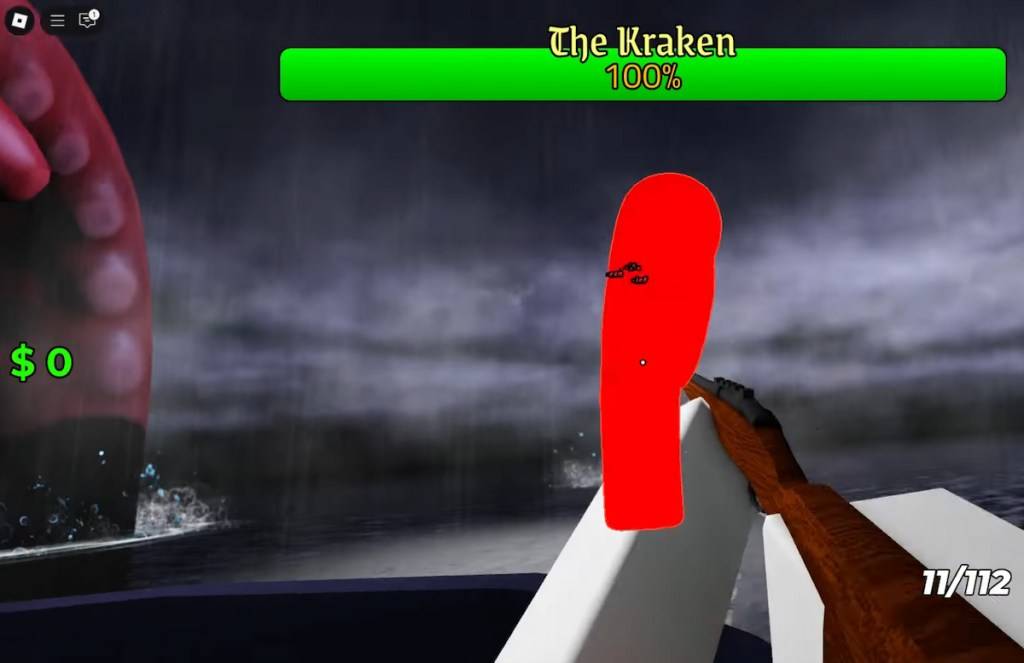
Before facing the Kraken, sell all your loot in the final safe zone and stock up on ammo, weapons, and medkits. Don't go easy on the Zombies and Drowned; you'll need a stash of at least 8-10 corpses for fuel during the final stretch. As you approach 100,000m, you'll reach open waters and be ready to confront the beast. The sign of its arrival is the skies darkening.

The camera will zoom out, and the Kraken will emerge from the water. Everyone must pick a tentacle to attack, as the boss has a lot of health and each tentacle can cause damage if not repelled. If you have five people on board, form a pentagram-like shape and let everyone focus on their assigned tentacle.
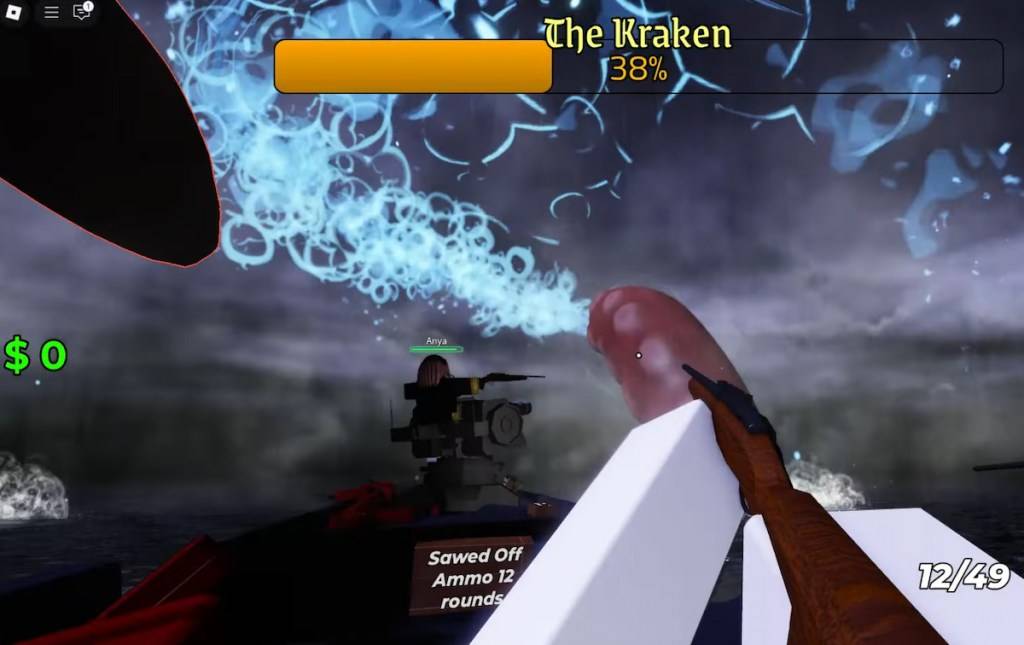
Be cautious of the water splash ability, which deals area-of-effect damage and is telegraphed by the Kraken winding back and creating a water trail with its tentacle. Use medkits liberally here, as some damage is unavoidable.
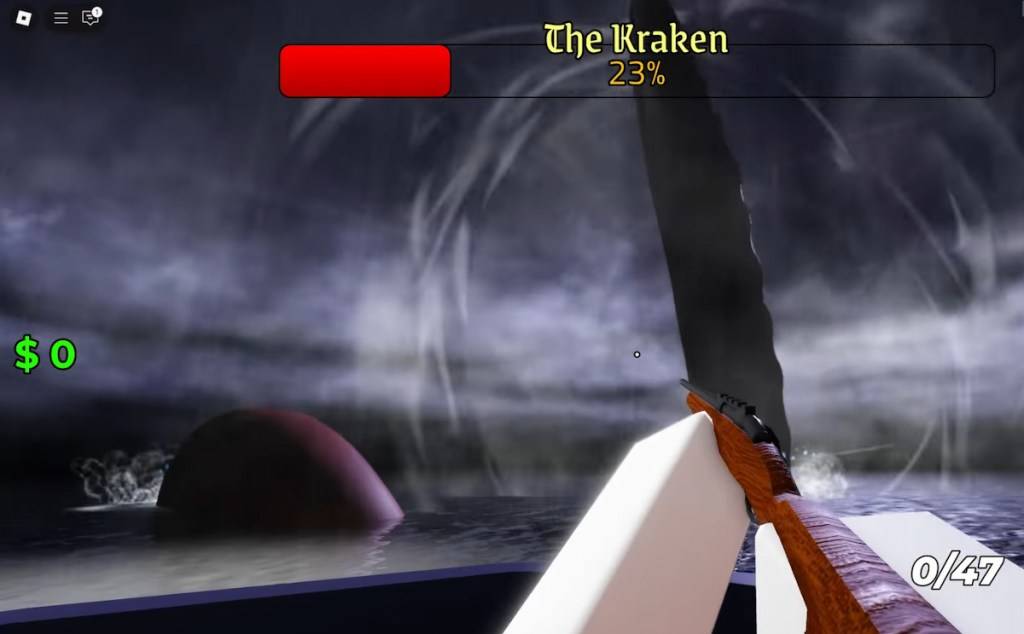
Lastly, watch out for the Roar AoE, which causes minor damage but is unblockable and seems to slightly buff the boss's damage. You'll see it as white concentric circles emanating from the tentacle that used the ability.
As you can see, it's not as daunting as it seems. That's the essence of my Dead Sails Kraken Guide. To speed through the boss fight even faster, grab one of our Dead Sails codes and see how far and how fast you can go. Good luck and smooth sailing!
-
Dystopian fiction has long been a significant force within the realms of science fiction and horror, but in the 21st century, it has emerged as a powerhouse genre of its own. Here, we explore the cream of the crop in TV dystopias, from nightmarish zombie landscapes and AI-driven apocalypses to moreAuthor : Gabriella Apr 18,2025
-
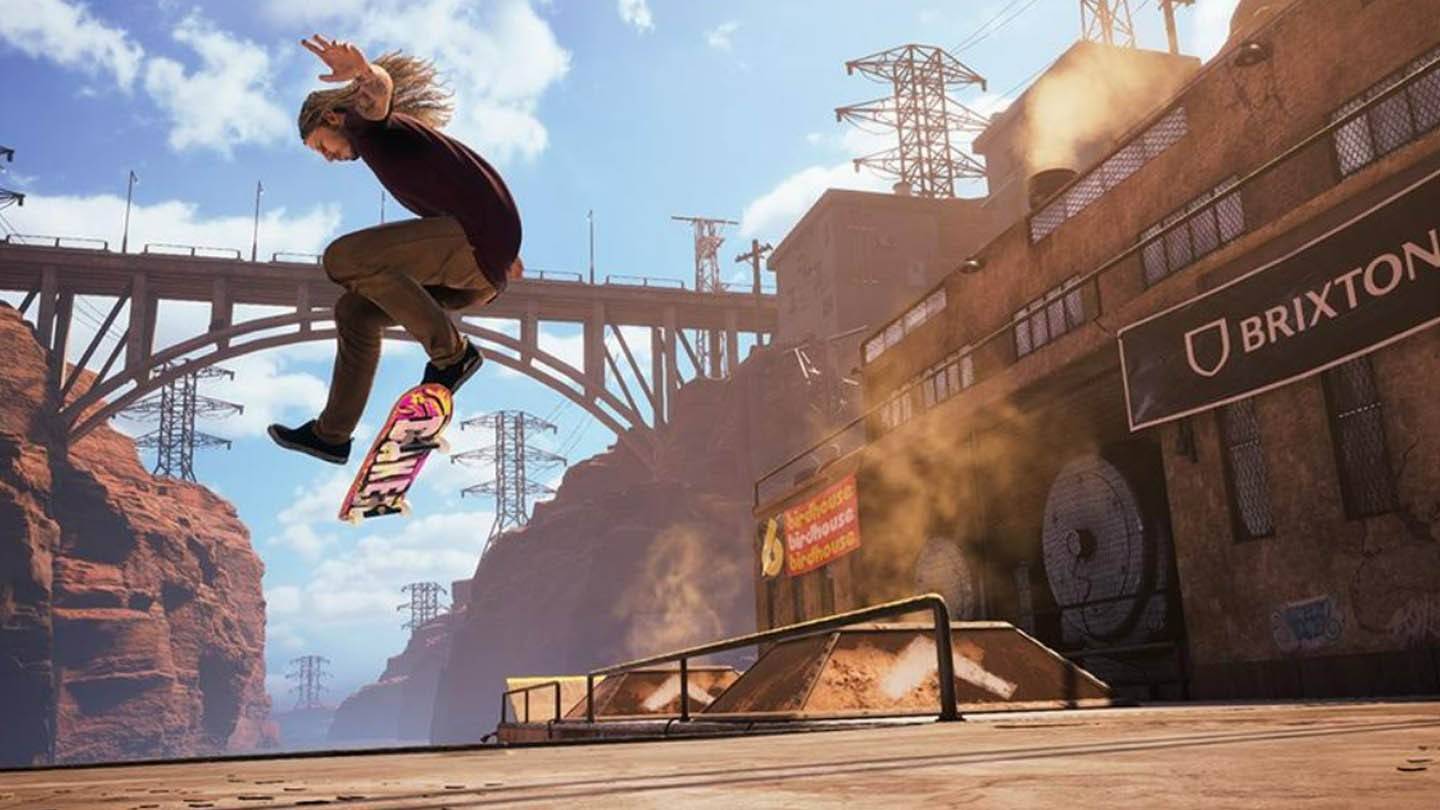 Thrilling news has surfaced for enthusiasts of the iconic Tony Hawk's Pro Skater series, as a professional skateboarder has officially announced that a new remaster is in the works. This revelation has sparked a surge of excitement among the gaming community, with fans eagerly awaiting the revival oAuthor : Owen Apr 18,2025


![[777Real]スマスロモンキーターンⅤ](https://images.0516f.com/uploads/70/17347837276766b2efc9dbb.webp)


- Hitman Devs' "Project Fantasy" Hopes to Redefine Online RPGs
- The Elder Scrolls: Castles Now Available on Mobile
- Minecraft's 'In Your World' Mod: A Chilling Update
- Resident Evil Creator Wants Cult Classic, Killer7, to Get a Sequel By Suda51
- Deadlock Characters | New Heroes, Skills, Weapons, and Story
- Fortnite Update: Mysterious Mythic Item Teased in Latest Leak