Fortnite OG Item List (All Items and Effects)
Quick Links
Fortnite OG throws players back to the very beginning of Battle Royale, recreating the Chapter 1, Season 1 experience. This nostalgic mode features the original map and loot pool, making it crucial to understand the available weapons and items. Navigating this familiar yet challenging landscape requires knowledge of the OG arsenal, as the meta will shift with the introduction of weapons from later seasons.
Fortnite's OG loot pool contains a mix of effective and less-than-stellar weapons and items. Understanding this pool is key, especially as the game progresses beyond Season 1 and new returning weapons alter the gameplay.
All Fortnite OG Assault Rifles
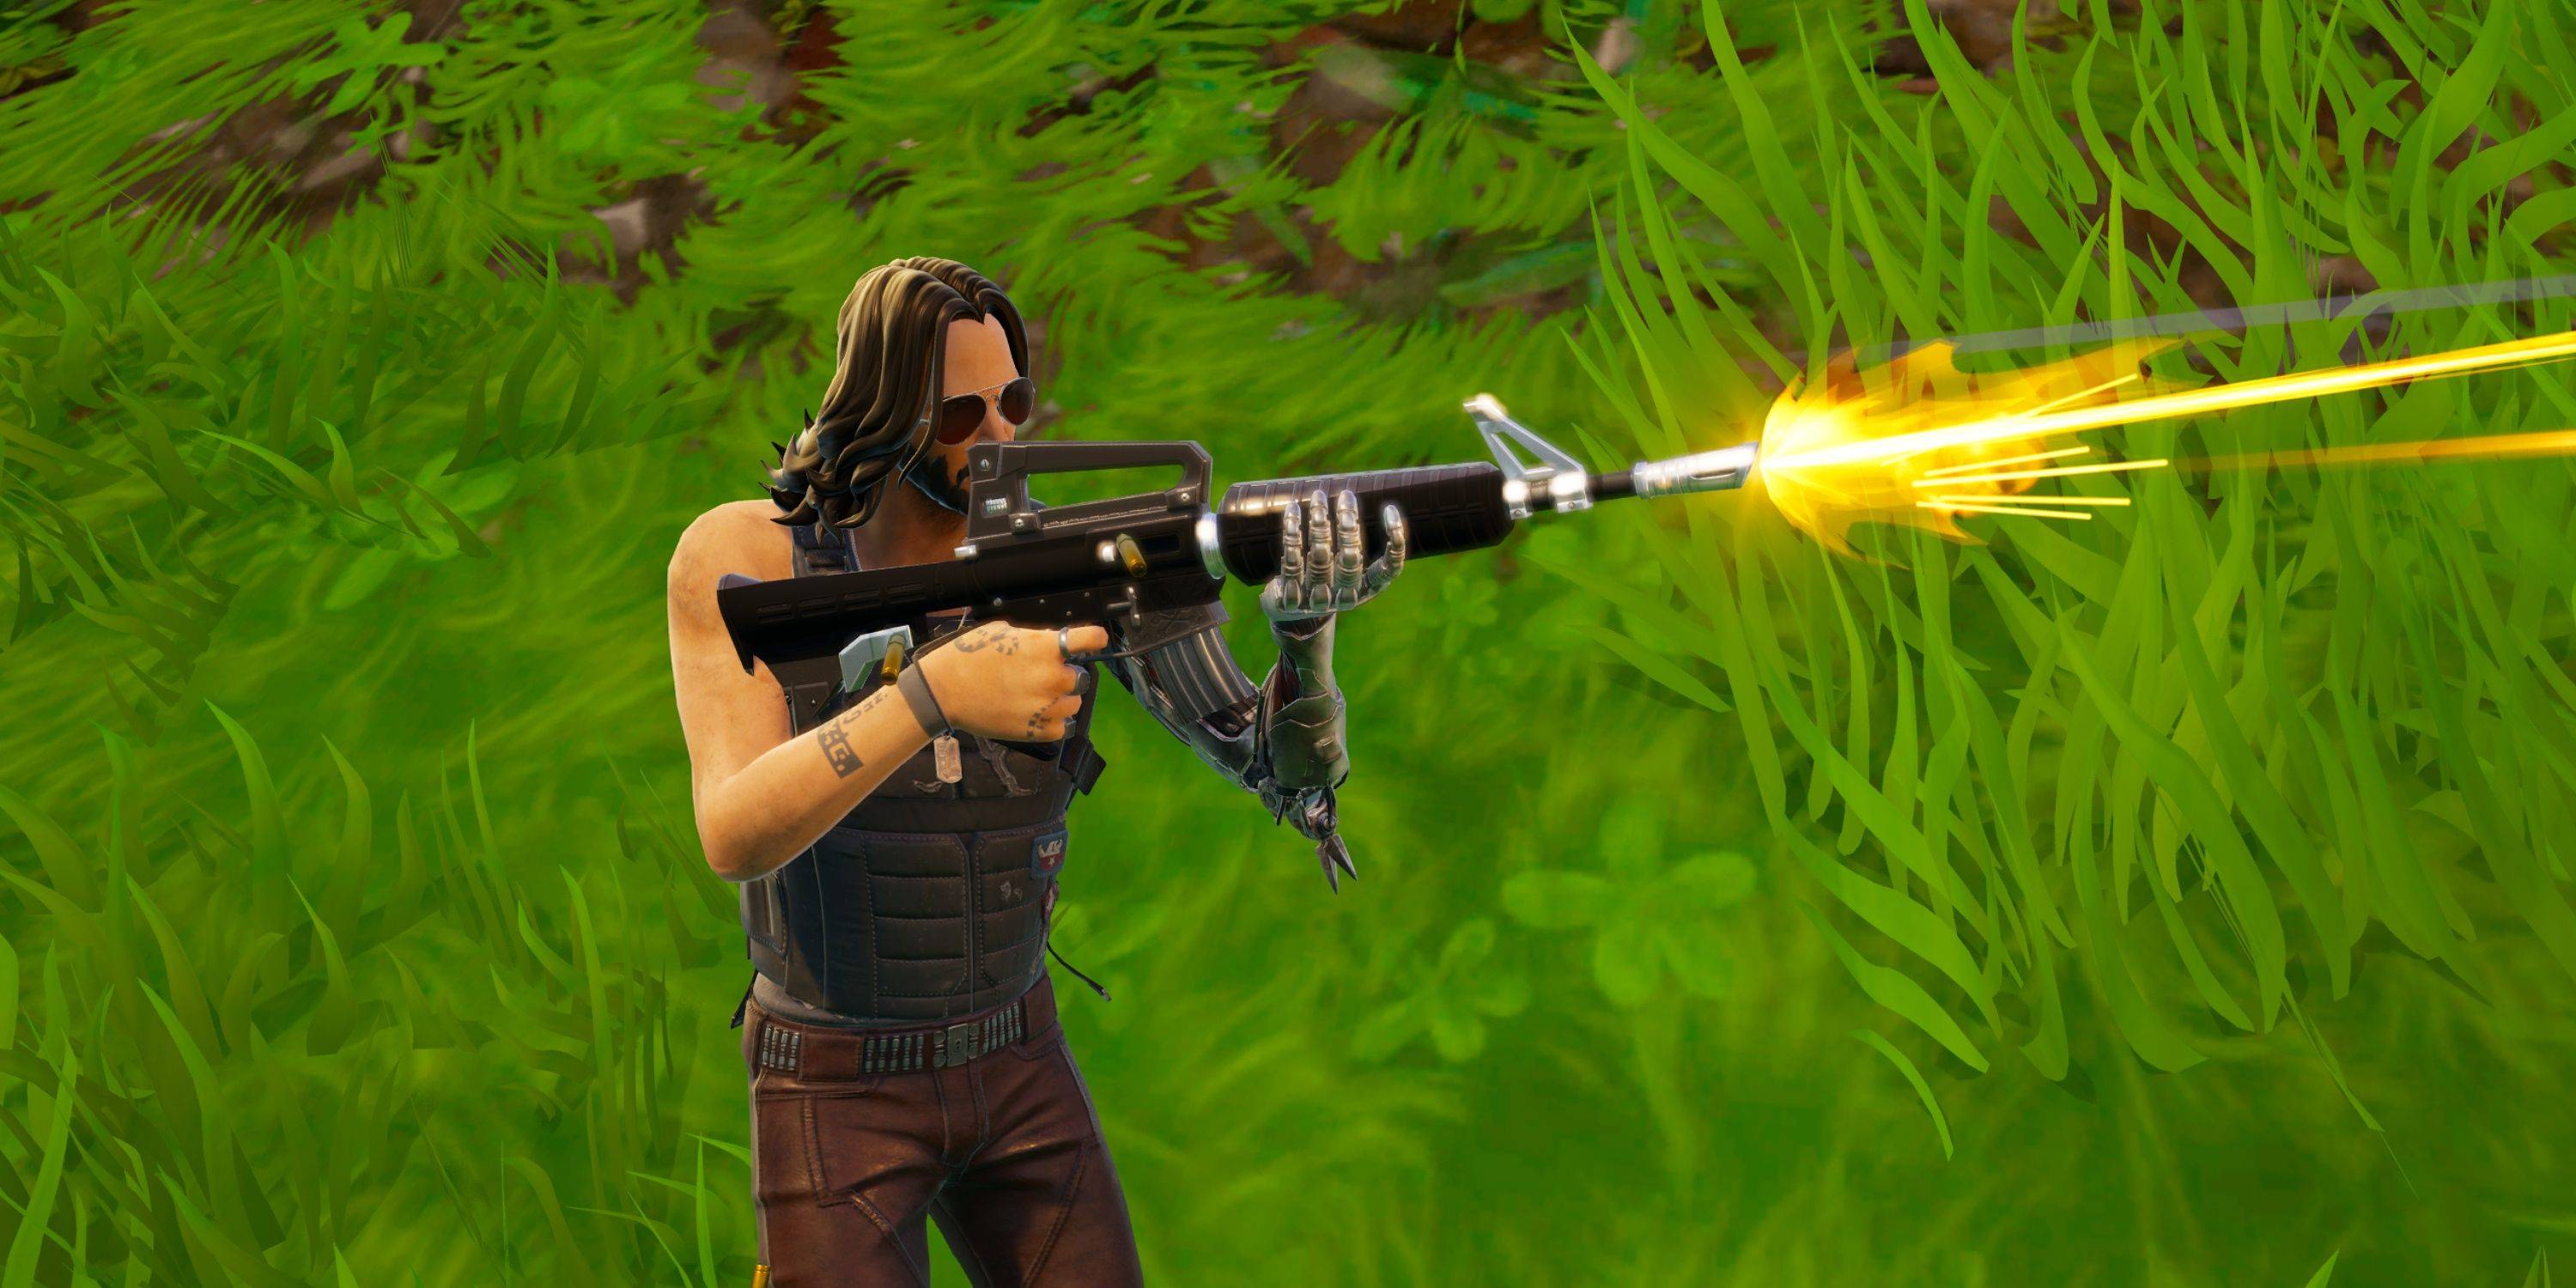 The return of hitscan weapons makes Assault Rifles potent in Fortnite OG. However, inconsistent bloom on some weapons can be problematic. The standard Assault Rifle is generally the most reliable choice, especially considering the Scoped Assault Rifle's inaccurate scope.
Assault Rifle
| Rarity | Common | Uncommon | Rare | Epic | Legendary |
|---|---|---|---|---|---|
| Damage | 30 | 31 | 33 | 35 | 36 |
| Magazine Size | 30 | 30 | 30 | 30 | 30 |
| Fire Rate | 5.5 | 5.5 | 5.5 | 5.5 | 5.5 |
| Reload Time | 2.75s | 2.625s | 2.5s | 2.375s | 2.25s |
| Structure Damage | 30 | 31 | 33 | 35 | 36 |
The Assault Rifle's manageable bloom, ample magazine, and decent damage make it a staple. Its reliability at various ranges makes it a must-have, especially the legendary variant.
Burst Assault Rifle
| Rarity | Common | Uncommon | Rare | Epic | Legendary |
|---|---|---|---|---|---|
| Damage | 27 | 29 | 30 | 36 | 37 |
| Magazine Size | 30 | 30 | 30 | 30 | 30 |
| Fire Rate | 4.06 | 4.06 | 4.06 | 3.69 | 3.69 |
| Reload Time | 2.75s | 2.62s | 2.5s | 2.38s | 2.25s |
| Structure Damage | 27 | 29 | 34 | 36 | 37 |
The Burst Assault Rifle's three-round burst and high bloom make it unreliable and less desirable.
Scoped Assault Rifle
| Rarity | Rare | Epic | Legendary |
|---|---|---|---|
| Damage | 23 | 24 | 37 |
| Magazine Size | 20 | 20 | 20 |
| Fire Rate | 3.5 | 3.5 | 3.5 |
| Reload Time | 2.3s | 2.2s | 2.07s |
| Structure Damage | 23 | 24 | 37 |
Along with the Sniper Rifles, the Scoped Assault Rifle offers first-person aiming. However, its bullet trajectory deviates from the crosshair, hindering accuracy.
All Fortnite OG Shotguns
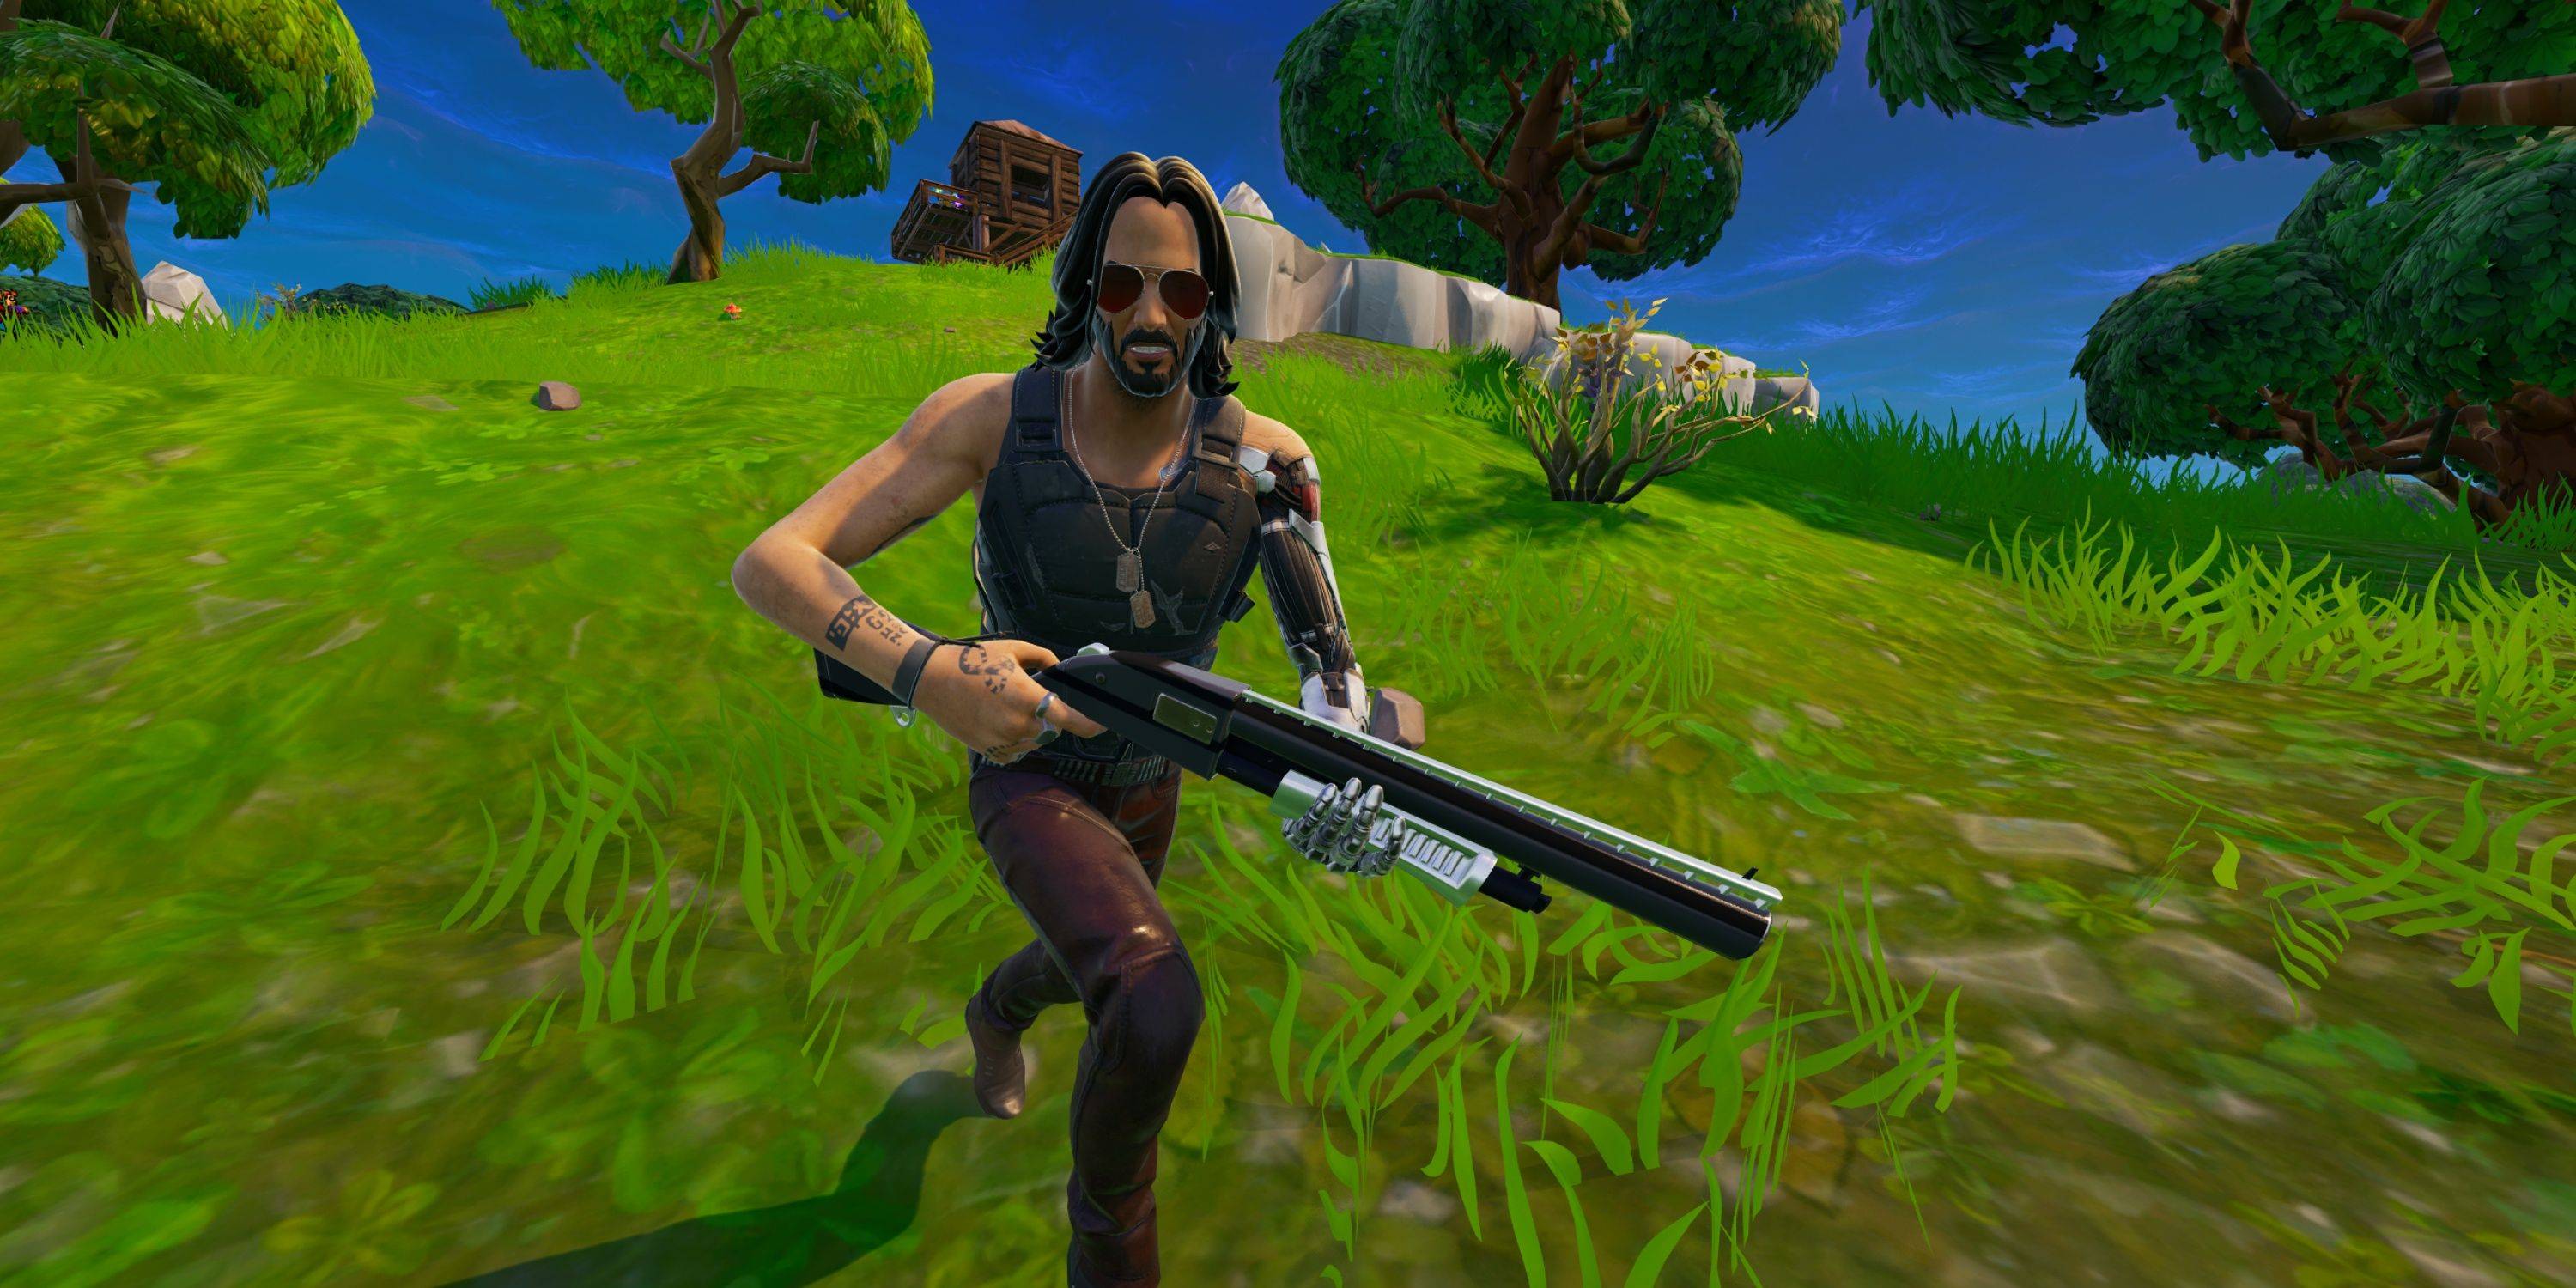 Shotguns are vital in Fortnite Chapter 1 Season 1, delivering high damage and fast DPS for close-quarters combat. The "Double Pump" technique provides a significant advantage.
Pump Shotgun
| Rarity | Common | Uncommon | Rare | Epic | Legendary |
|---|---|---|---|---|---|
| Damage | 90 | 95 | 110 | 119 | 128 |
| Magazine Size | 5 | 5 | 5 | 5 | 5 |
| Fire Rate | 0.7 | 0.7 | 0.7 | 0.7 | 0.7 |
| Reload Time | 4.8s | 4.6s | 4.4s | 4.2s | 4s |
| Structure Damage | 90 | 95 | 110 | 119 | 128 |
The Pump Shotgun's 2.5x headshot multiplier allows for quick eliminations. The "Double Pump" strategy, utilizing two Pump Shotguns, maximizes its effectiveness.
Tactical Shotgun
| Rarity | Common | Uncommon | Rare |
|---|---|---|---|
| Damage | 67 | 70 | 74 |
| Magazine Size | 8 | 8 | 8 |
| Fire Rate | 1.5 | 1.5 | 1.5 |
| Reload Time | 6.3s | 6s | 5.7s |
| Structure Damage | 67 | 70 | 74 |
The Tactical Shotgun's higher fire rate and 2.5x headshot multiplier make it a safer, albeit less powerful, alternative.
All Fortnite OG Pistols
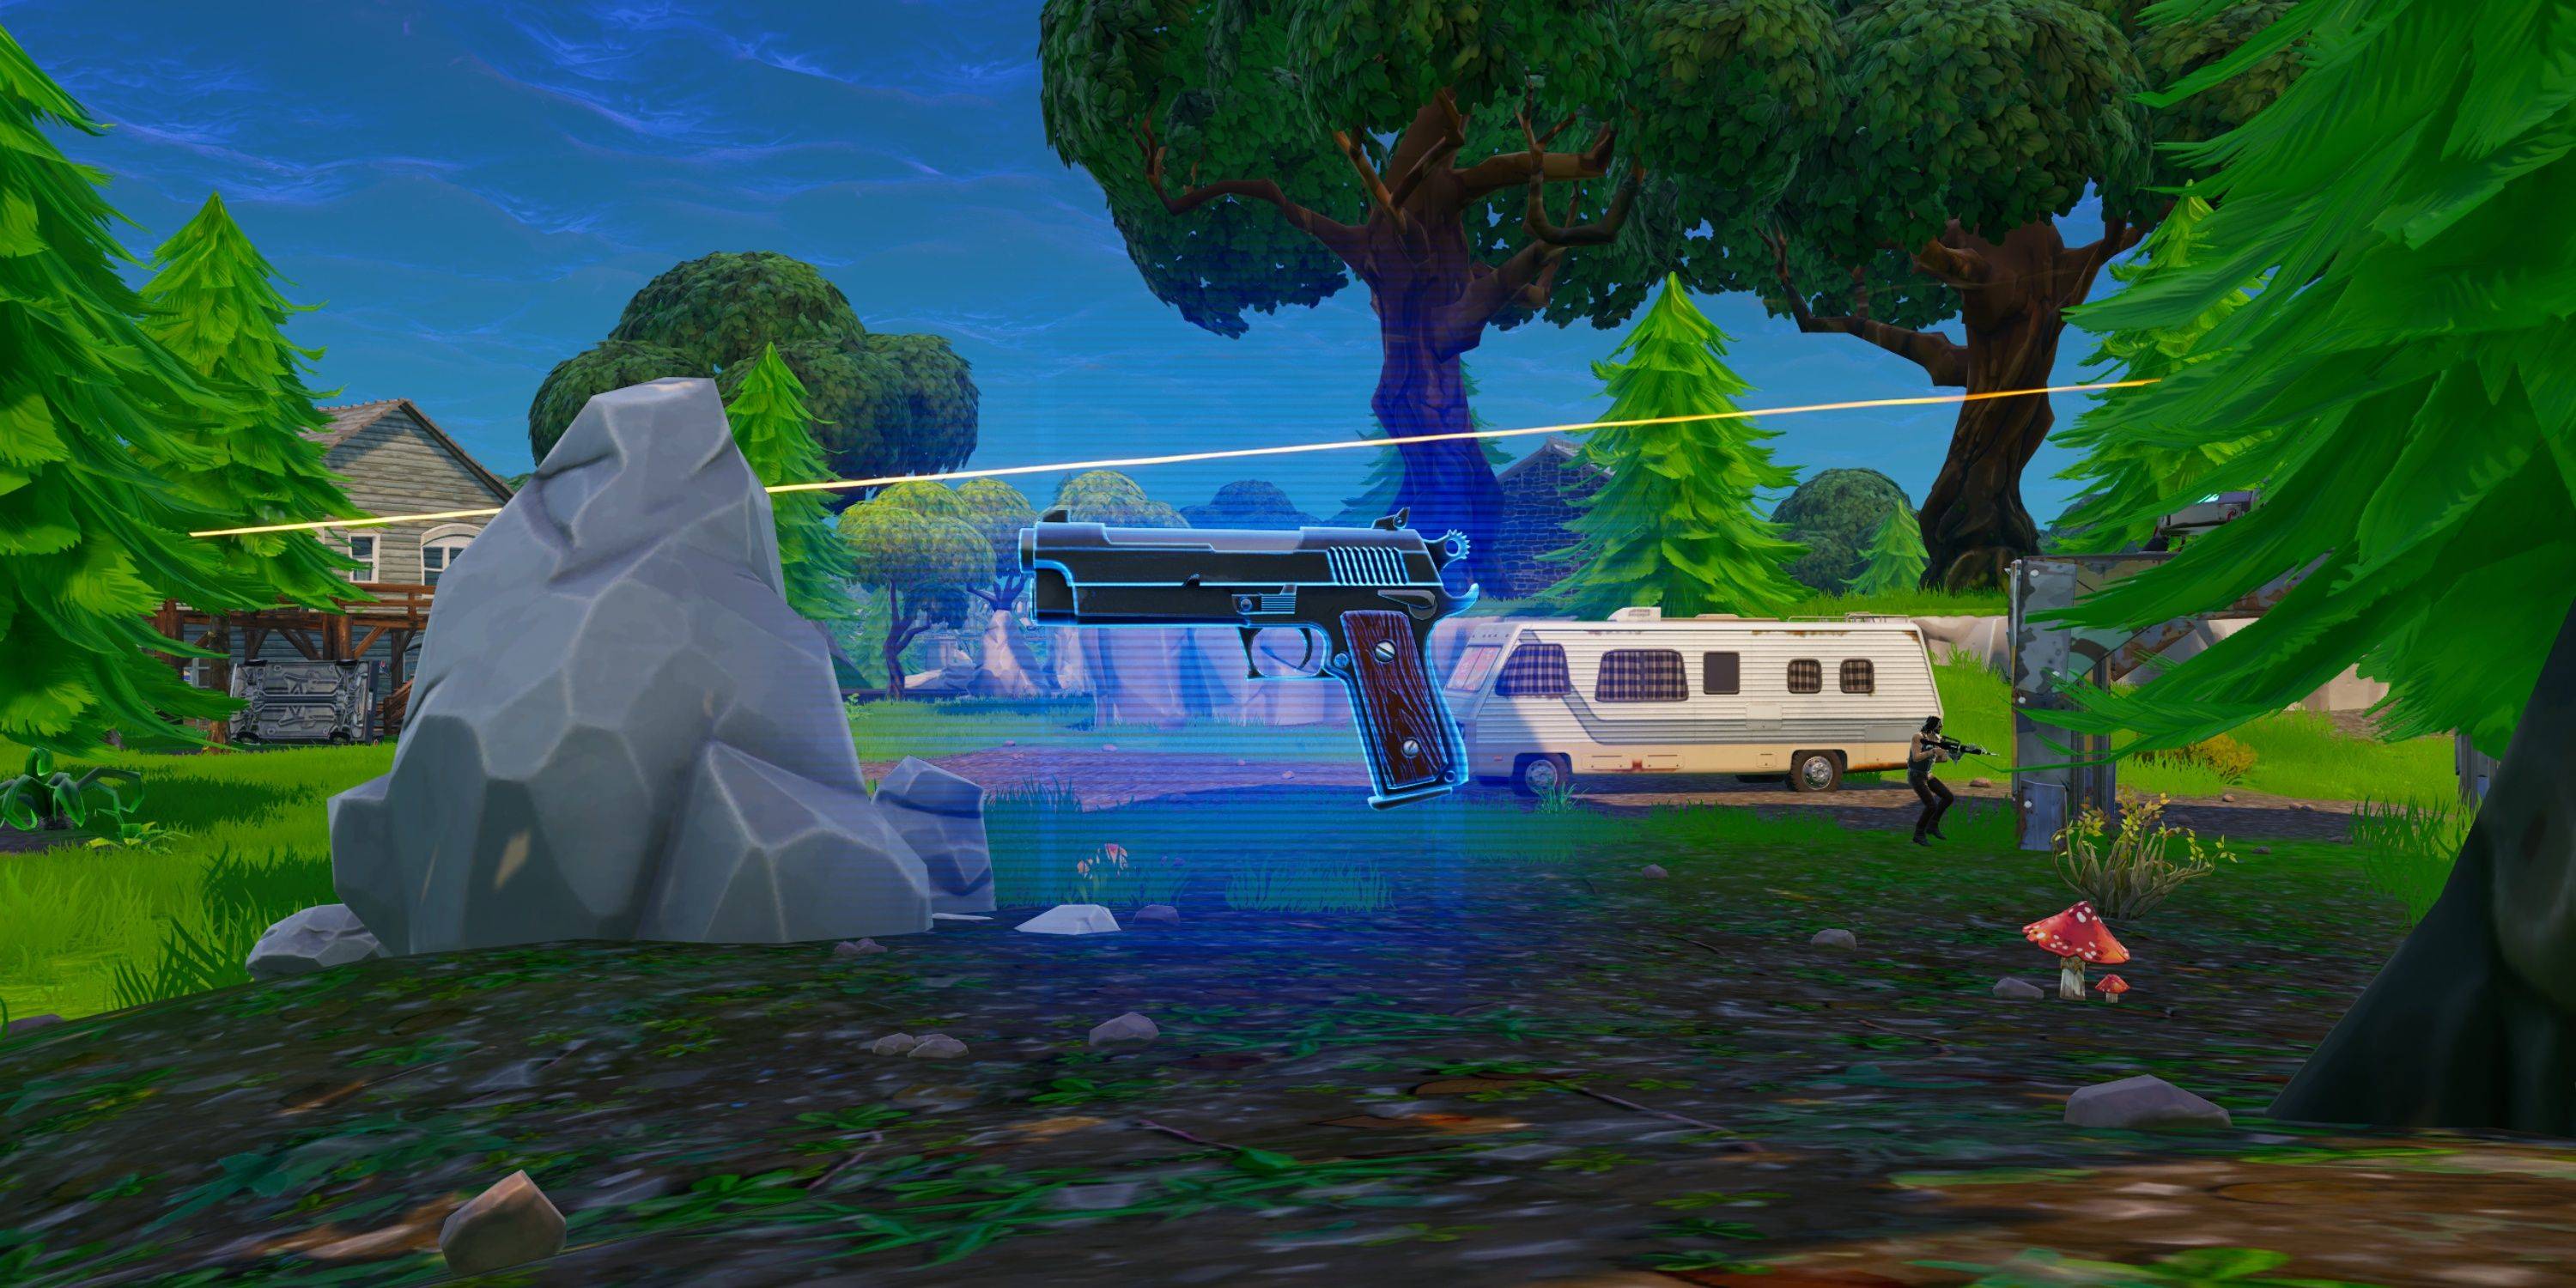 Pistols serve as decent starting weapons but are generally less effective in late-game scenarios.
Semi-Auto Pistol
| Rarity | Common | Uncommon | Rare |
|---|---|---|---|
| Damage | 24 | 25 | 26 |
| Magazine Size | 16 | 16 | 16 |
| Fire Rate | 6.8 | 6.8 | 6.8 |
| Reload Time | 1.5s | 1.47s | 1.4s |
| Structure Damage | 24 | 25 | 26 |
The Semi-Auto Pistol, a common starting weapon, offers a high fire rate but suffers from significant damage drop-off.
Revolver
| Rarity | Common | Uncommon | Rare | Epic | Legendary |
|---|---|---|---|---|---|
| Damage | 54 | 57 | 60 | 63 | 66 |
| Magazine Size | 6 | 6 | 6 | 6 | 6 |
| Fire Rate | 0.9 | 0.9 | 0.9 | 0.9 | 0.9 |
| Reload Time | 2.2s | 2.1s | 2s | 1.9s | 1.8s |
| Structure Damage | 54 | 57 | 60 | 63 | 66 |
The Revolver, with its higher damage, is more effective but suffers from noticeable recoil.
All Fortnite OG SMGs
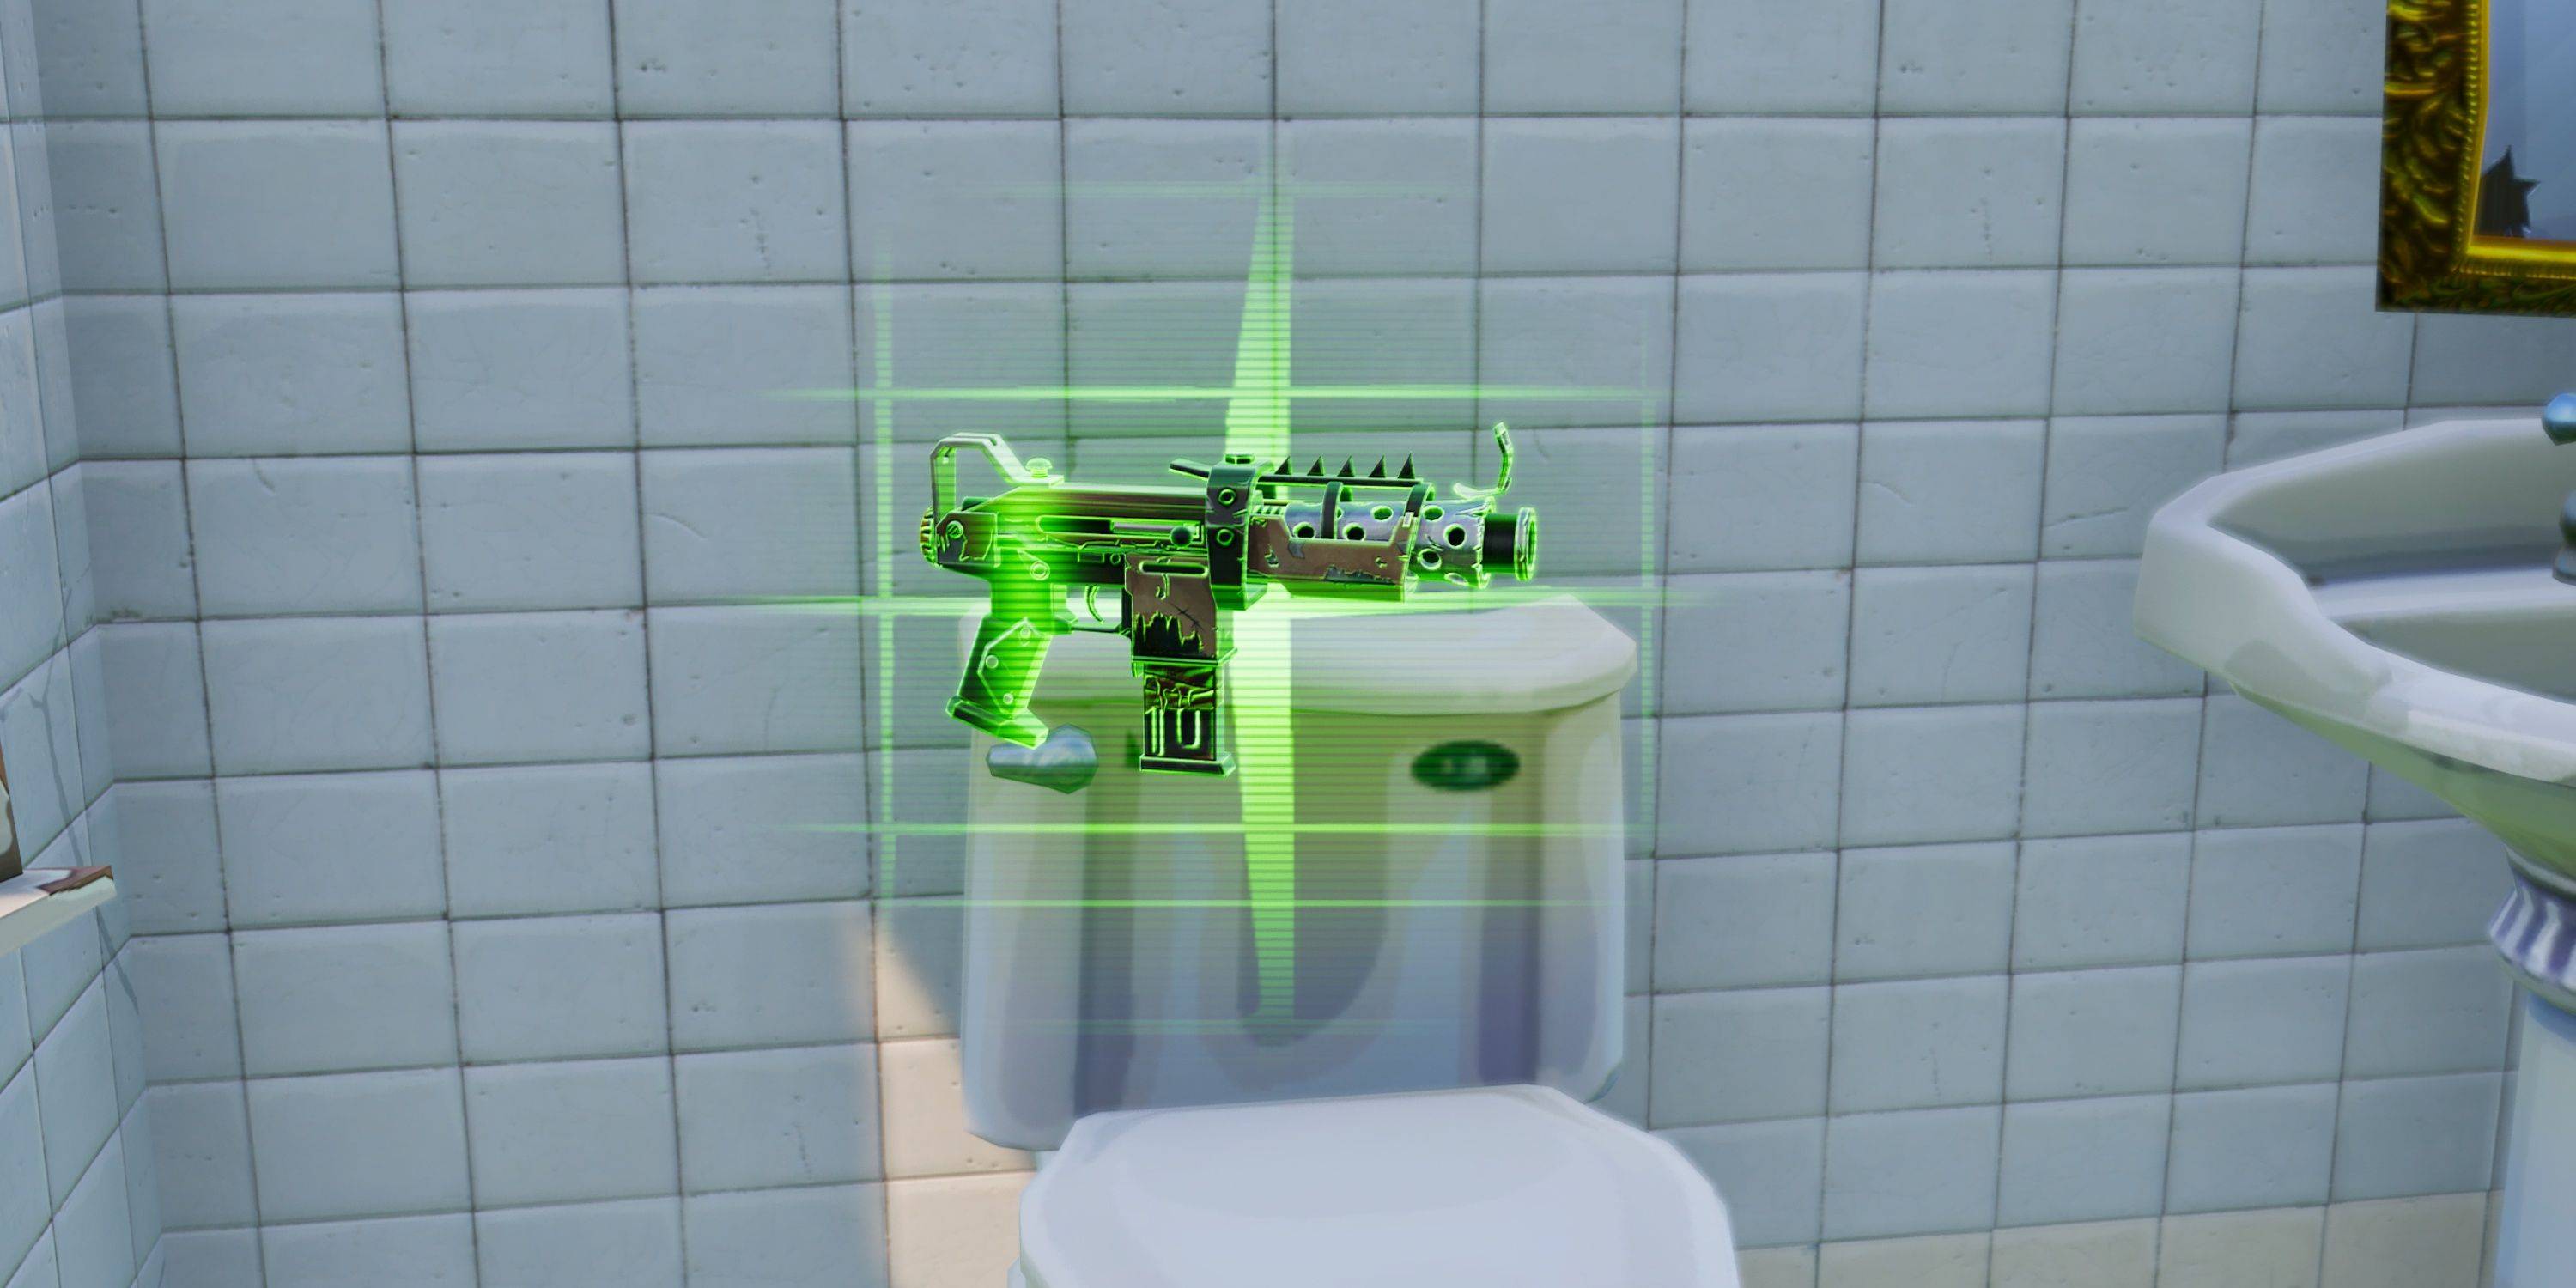 SMGs are suitable for close-range combat but lack the DPS of shotguns and are ineffective at longer ranges.
Suppressed Submachine Gun
| Rarity | Common | Uncommon | Rare | Epic |
|---|---|---|---|---|
| Damage | 17 | 18 | 19 | 23 |
| Magazine Size | 30 | 30 | 30 | 30 |
| Fire Rate | 9 | 9 | 9 | 9 |
| Reload Time | 2.2s | 2.1s | 2s | 1.9s |
| Structure Damage | 17 | 18 | 19 | 23 |
The Suppressed Submachine Gun offers a 2.5x headshot multiplier and is generally the best SMG option due to its suppression and damage falloff at 20 meters.
Tactical Submachine Gun
| Rarity | Uncommon | Rare | Epic |
|---|---|---|---|
| Damage | 16 | 17 | 18 |
| Magazine Size | 30 | 30 | 30 |
| Fire Rate | 10 | 10 | 10 |
| Reload Time | 2.4s | 2.3s | 2.2s |
| Structure Damage | 16 | 17 | 18 |
The Tactical Submachine Gun has lower bloom but inconsistent fire rate.
Submachine Gun
| Rarity | Common | Uncommon | Rare |
|---|---|---|---|
| Damage | 14 | 15 | 16 |
| Magazine Size | 35 | 35 | 35 |
| Fire Rate | 15 | 15 | 15 |
| Reload Time | 2.2s | 2.1s | 2s |
| Structure Damage | 14 | 15 | 16 |
The Submachine Gun's high fire rate consumes ammunition quickly and its accuracy suffers at longer ranges.
All Fortnite OG Sniper Rifles
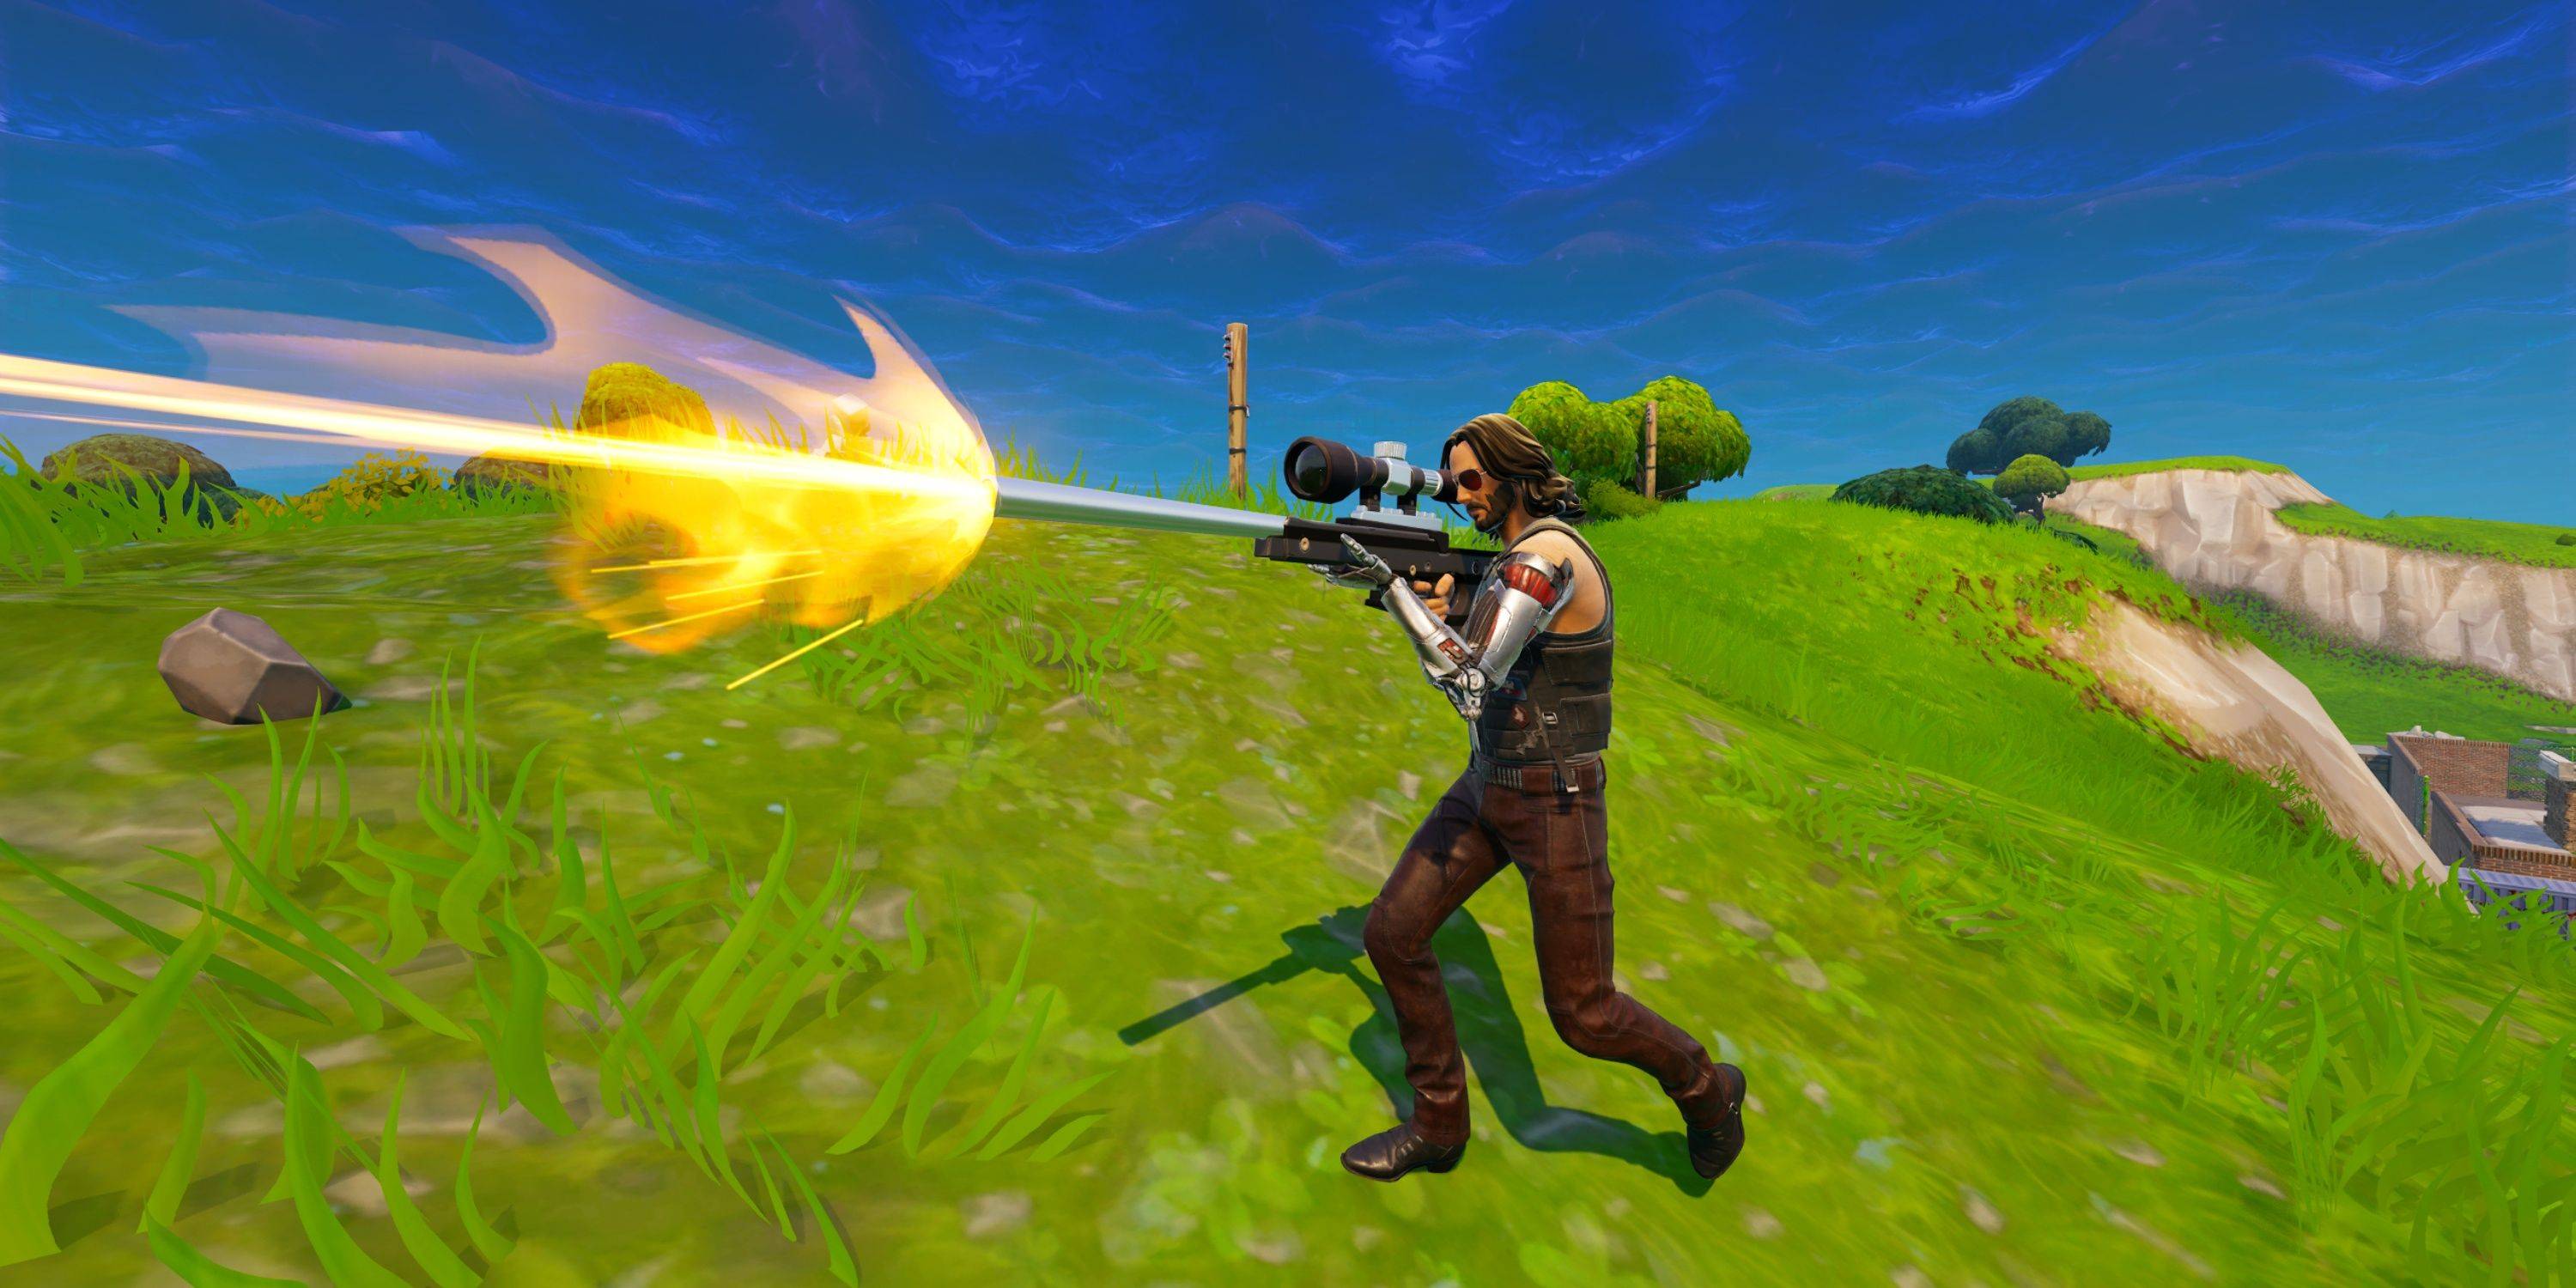 Sniper Rifles in their classic form require precise shot placement for effective headshots.
Bolt-Action Sniper Rifle
| Rarity | Rare | Epic | Legendary |
|---|---|---|---|
| Damage | 105 | 110 | 116 |
| Magazine Size | 1 | 1 | 1 |
| Fire Rate | 0.3s | 0.3s | 0.3s |
| Reload Time | 3s | 2.9s | 2.7s |
| Structure Damage | 105 | 110 | 116 |
The Bolt-Action Sniper Rifle, with its 2.5x headshot multiplier, delivers high damage but has a single-shot magazine.
Semi-Auto Sniper Rifle
| Rarity | Epic | Legendary |
|---|---|---|
| Damage | 63 | 66 |
| Magazine Size | 10 | 10 |
| Fire Rate | 1.2 | 1.2 |
| Reload Time | 2.5s | 2.3s |
| Structure Damage | 75 | 78 |
The Semi-Auto Sniper Rifle, while less powerful per shot, offers a higher fire rate and larger magazine.
All Fortnite OG Explosives
 Explosives are highly effective for destroying structures and eliminating exposed enemies.
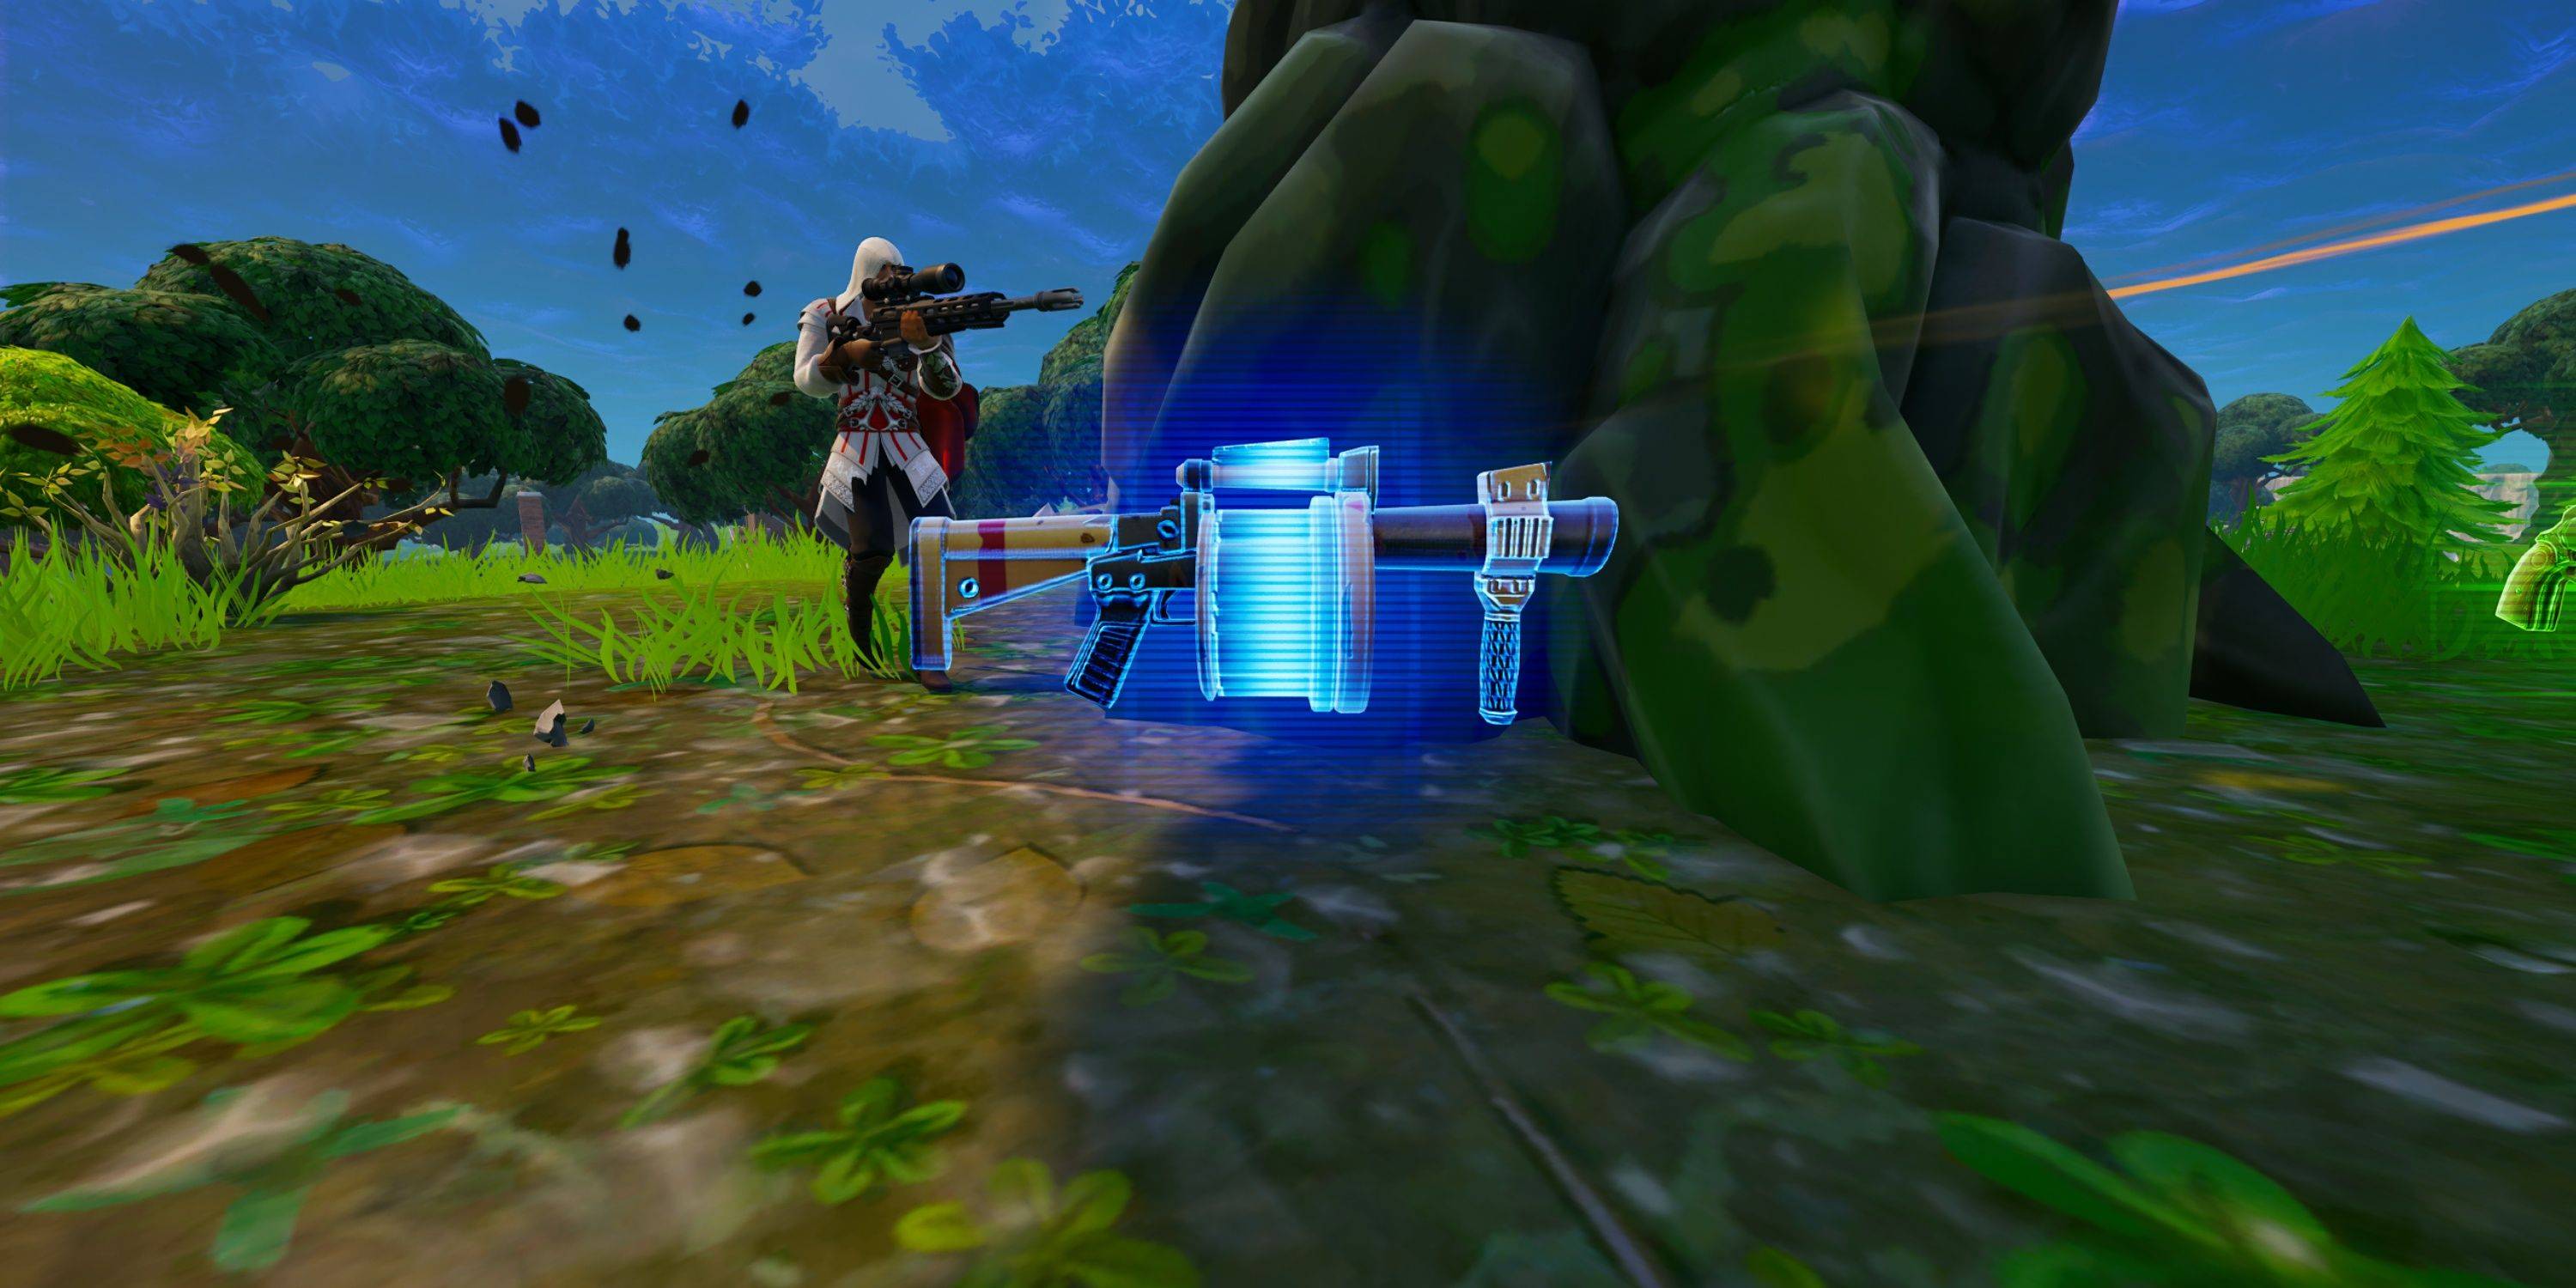
Rocket Launcher
| Rarity | Rare | Epic | Legendary |
|---|---|---|---|
| Damage | 100 | 115 | 130 |
| Magazine Size | 1 | 1 | 1 |
| Fire Rate | 0.75s | 0.75s | 0.75s |
| Reload Time | 3.60s | 3.06s | 2.52s |
| Structure Damage | 300 | 315 | 330 |
The Rocket Launcher's high damage and splash radius make it devastating but its slow fire rate makes it vulnerable.
Grenade Launcher
| Rarity | Rare | Epic | Legendary |
|---|---|---|---|
| Damage | 100 | 105 | 110 |
| Magazine Size | 6 | 6 | 6 |
| Fire Rate | 1 | 1 | 1 |
| Reload Time | 3s | 2.8s | 2.7s |
| Structure Damage | 200 | 210 | 220 |
The Grenade Launcher offers multiple projectiles for area denial.
Grenade
| Damage | 100 |
|---|---|
| Structure Damage | 375 |
| Stack Size | 6 |
Grenades are effective for destroying structures and clearing cover.
All Fortnite OG Traps
 Traps add a strategic element to Fortnite OG, allowing for defensive and offensive plays.
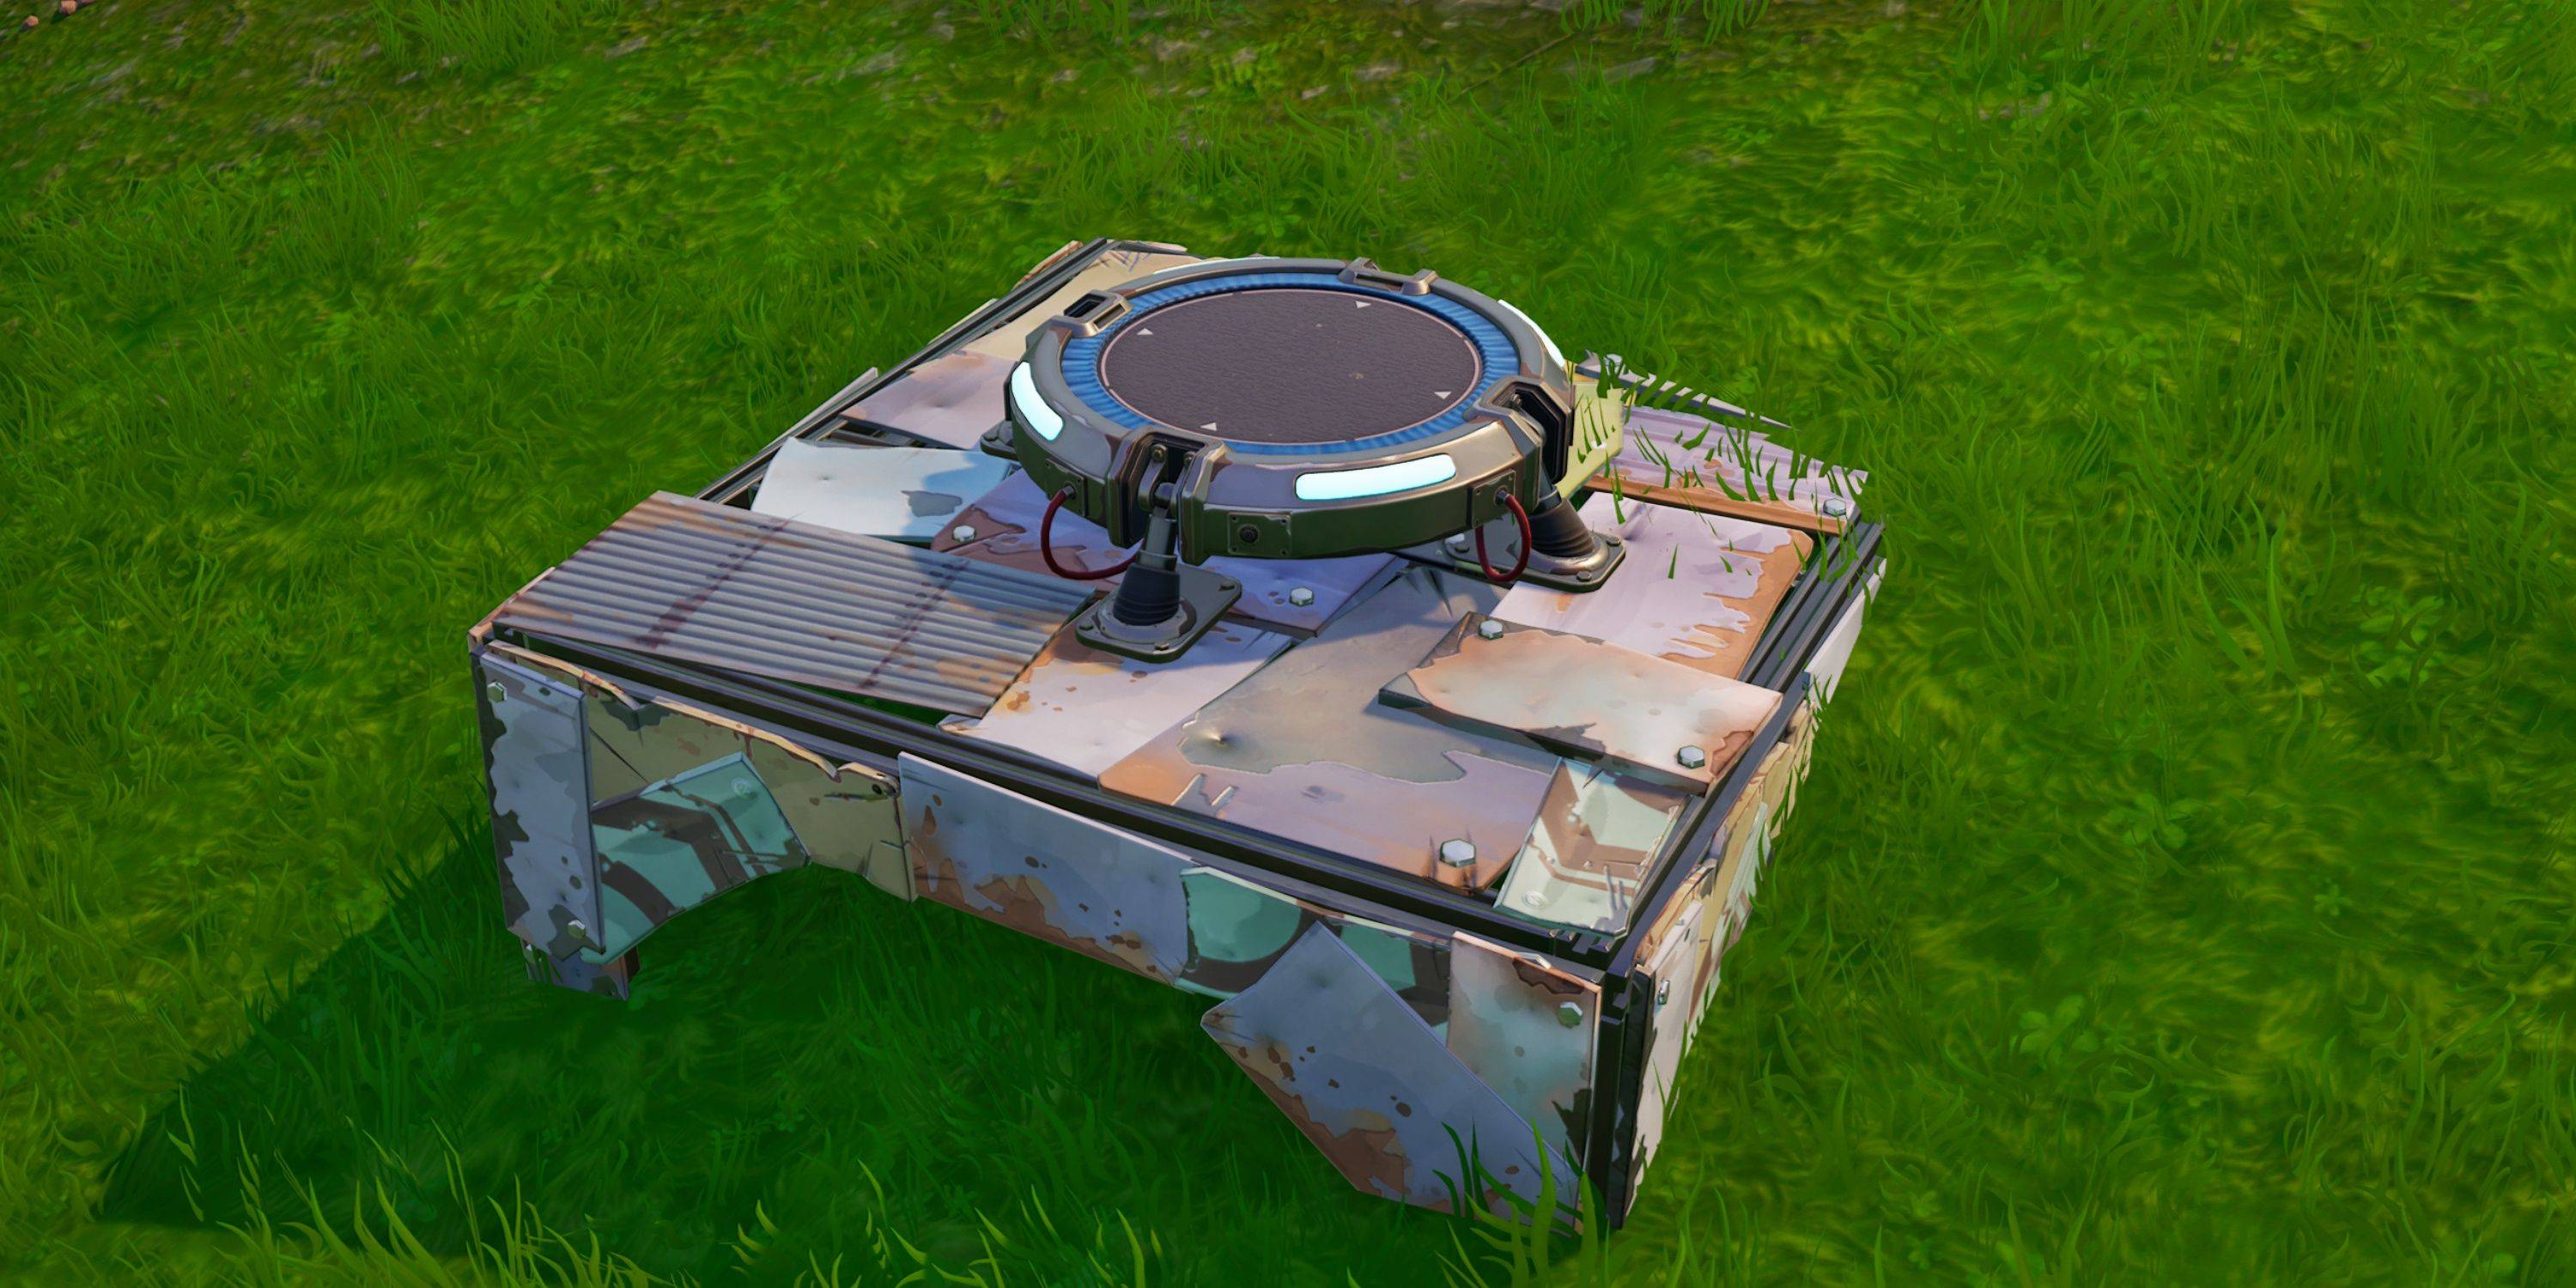
Launch Pad
The Launch Pad provides mobility for escaping or reaching high ground.
Ceiling Zapper
| Damage | 125 |
|---|---|
| Cooldown | 12 seconds |
The Ceiling Zapper instantly eliminates or downs players who pass underneath.
Wall Dynamo
| Damage | 125 |
|---|---|
| Cooldown | 12 seconds |
Similar to the Ceiling Zapper, but placed on walls.
Damage Trap
| Damage | 150 |
|---|---|
| Cooldown | 5 seconds |
The Damage Trap inflicts damage to players who step on it.
Directional Jump Pad
The Directional Jump Pad allows for controlled jumps, negating fall damage.
All Fortnite OG Consumables/Items
 Consumables in Fortnite OG are less abundant than in later seasons.
Bandage
| Health | +15 Health |
|---|---|
| Stack Size | 15 |
| Time to Use | 3.5 seconds |
Bandages restore health quickly, usable while moving.
Med Kit
| Health | +100 Health |
|---|---|
| Stack Size | 3 |
| Time to Use | 10 seconds |
Med Kits fully restore health but are interrupted by actions.
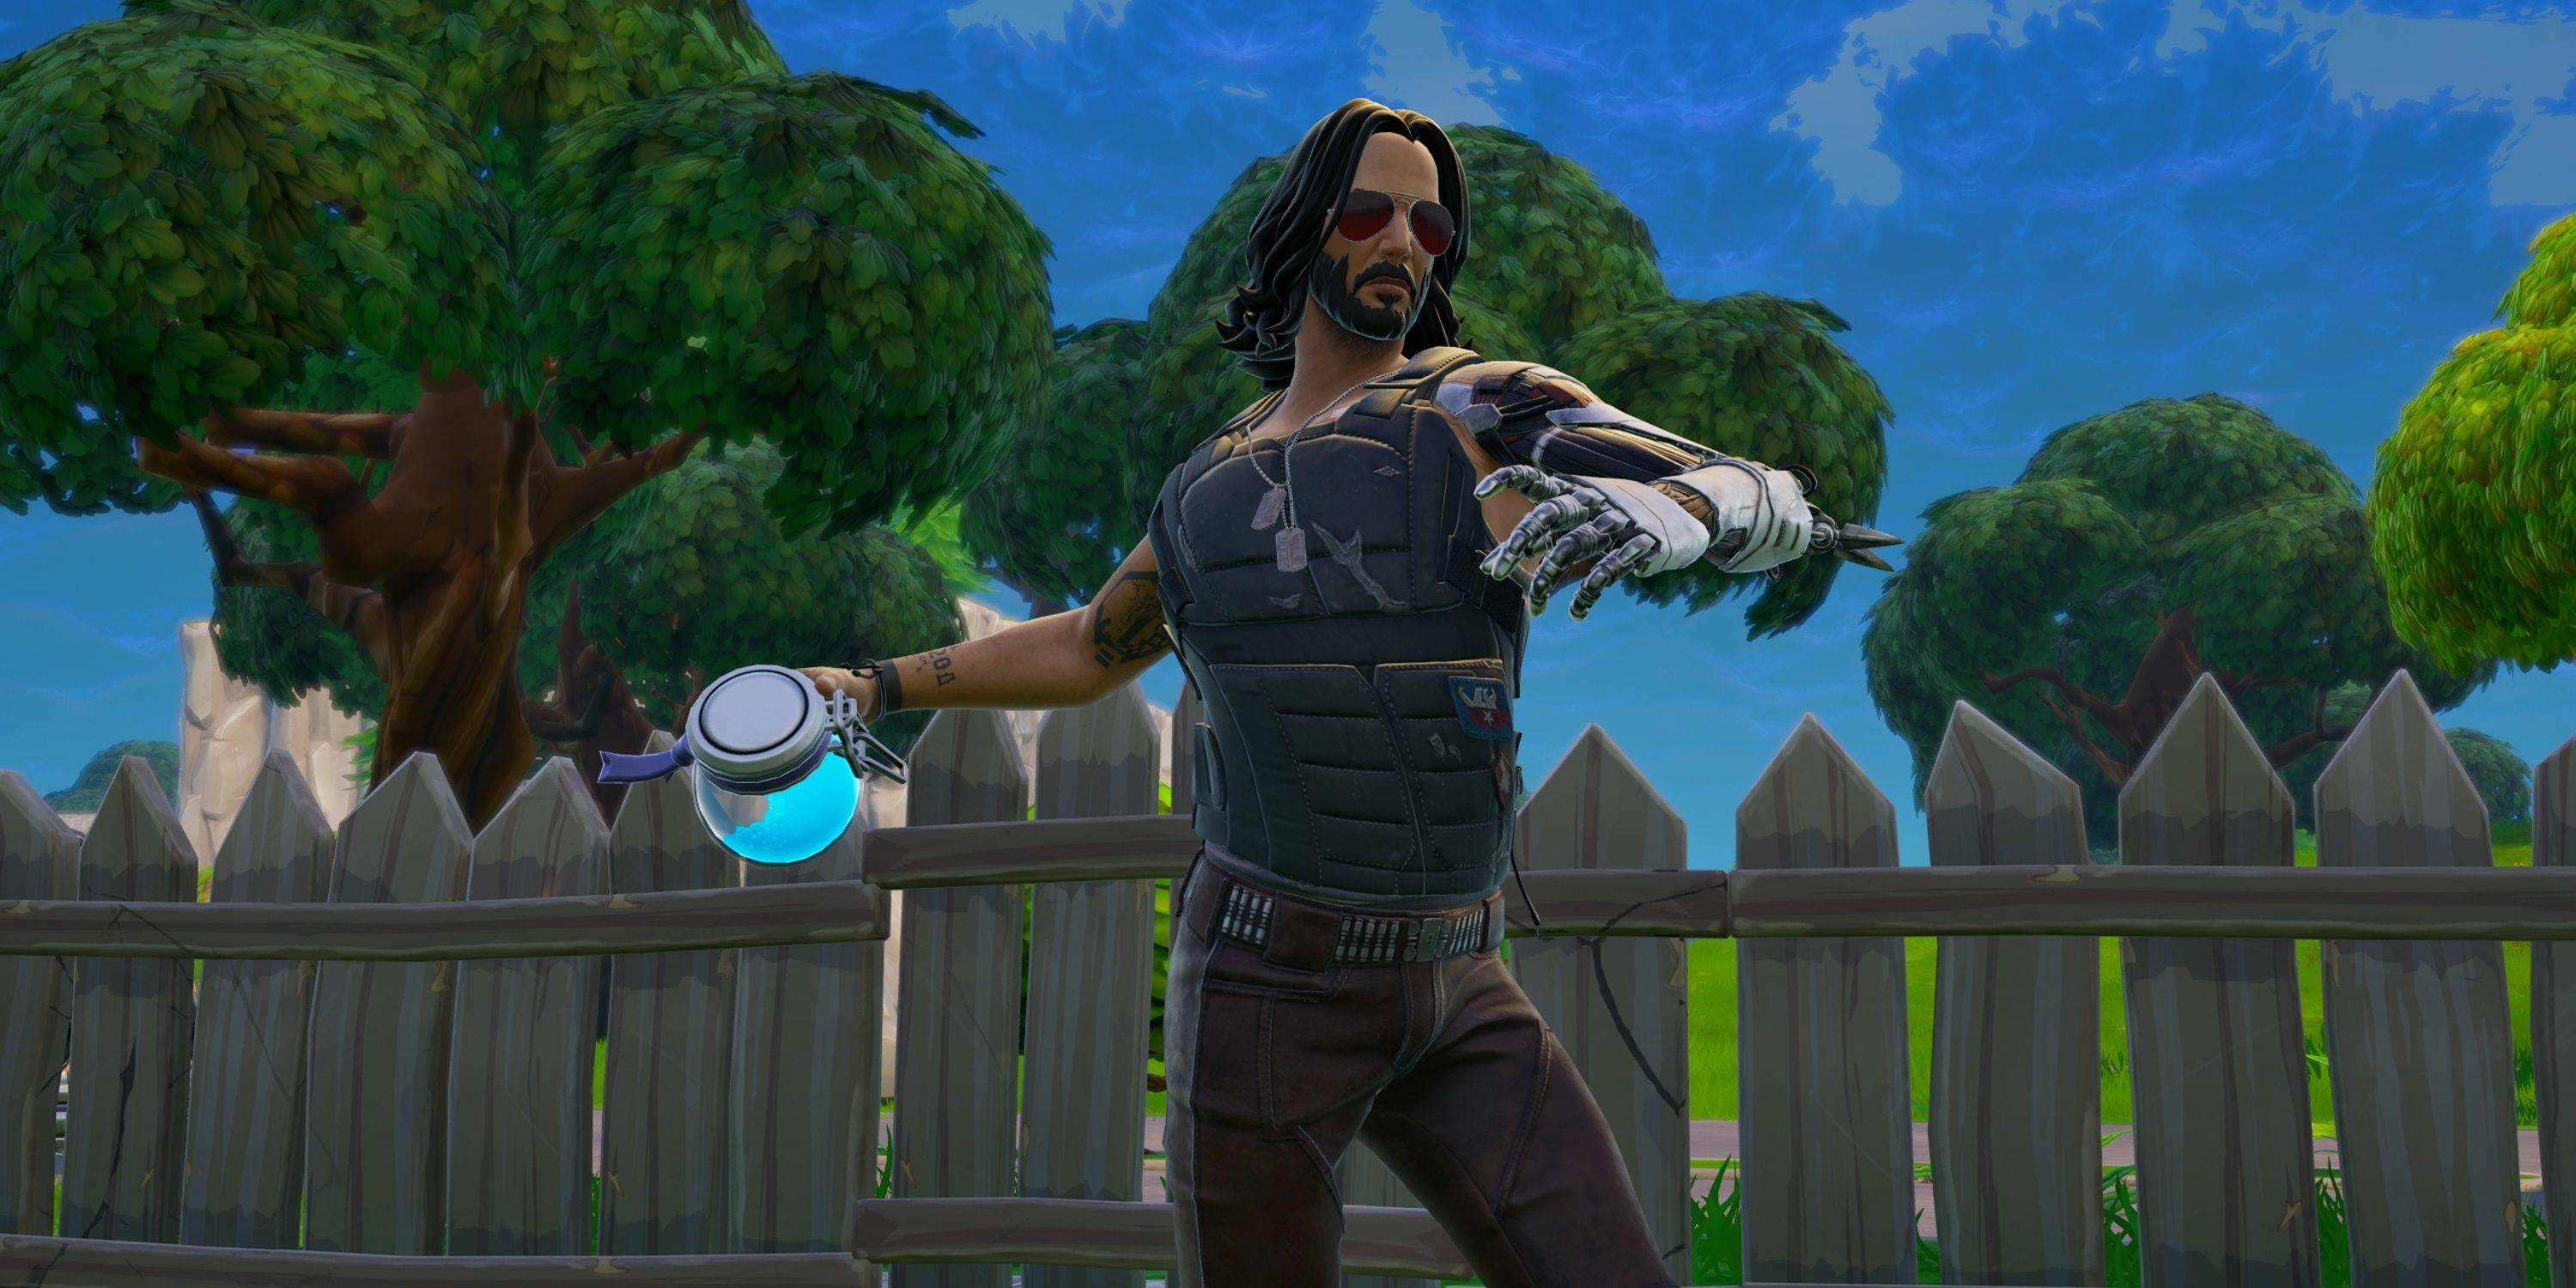
Shield Potion
| Shields | +50 Shield |
|---|---|
| Stack Size | 3 |
| Time to Use | 5 seconds |
Shield Potions restore shields gradually.
Slurp Juice
| Health | +75 Health |
|---|---|
| Shield | +75 Shield |
| Stack Size | 2 |
| Time to Use | 2 seconds |
| Lasts | 37.5 seconds |
Slurp Juice restores both health and shields over time.
Bush
| Health | +1 Health |
|---|---|
| Stack Size | 2 |
| Time to Use | 3 seconds |
The Bush provides camouflage.
Port-a-Bunker
| Stack Size | 4 |
Port-a-Bunkers create instant cover.
-
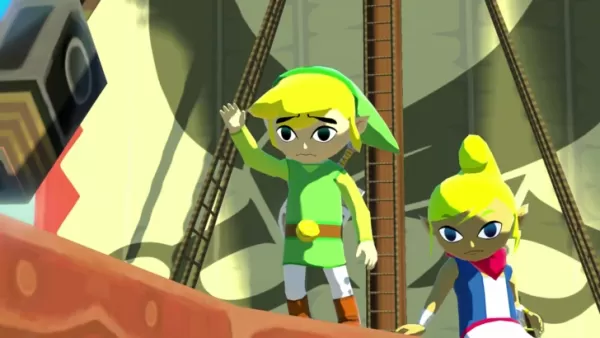 Discover the latest updates on the potential porting of Wind Waker HD to the Switch 2, alongside the confirmed release of the original GameCube version. Dive into Nintendo's plans and the enhancements that Wind Waker HD brought over the original game.Wind Waker GameCube Version Coming To Switch 2NinAuthor : Evelyn Apr 26,2025
 -
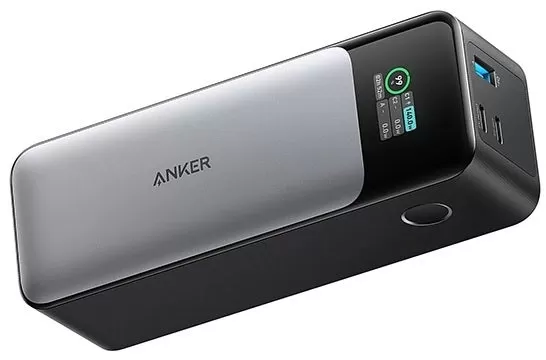 If you're in the market for a power bank that can keep up with the high demands of gaming handhelds like the Steam Deck or ROG Ally X, Amazon currently has an unbeatable deal on the Anker PowerCore 737. You can grab this 24,000mAh, 140W power bank for just $49.99, a price that's $20 lower than the lAuthor : David Apr 26,2025


![[777Real]スマスロモンキーターンⅤ](https://images.0516f.com/uploads/70/17347837276766b2efc9dbb.webp)


- Hitman Devs' "Project Fantasy" Hopes to Redefine Online RPGs
- The Elder Scrolls: Castles Now Available on Mobile
- Minecraft's 'In Your World' Mod: A Chilling Update
- Resident Evil Creator Wants Cult Classic, Killer7, to Get a Sequel By Suda51
- Deadlock Characters | New Heroes, Skills, Weapons, and Story
- Fortnite Update: Mysterious Mythic Item Teased in Latest Leak